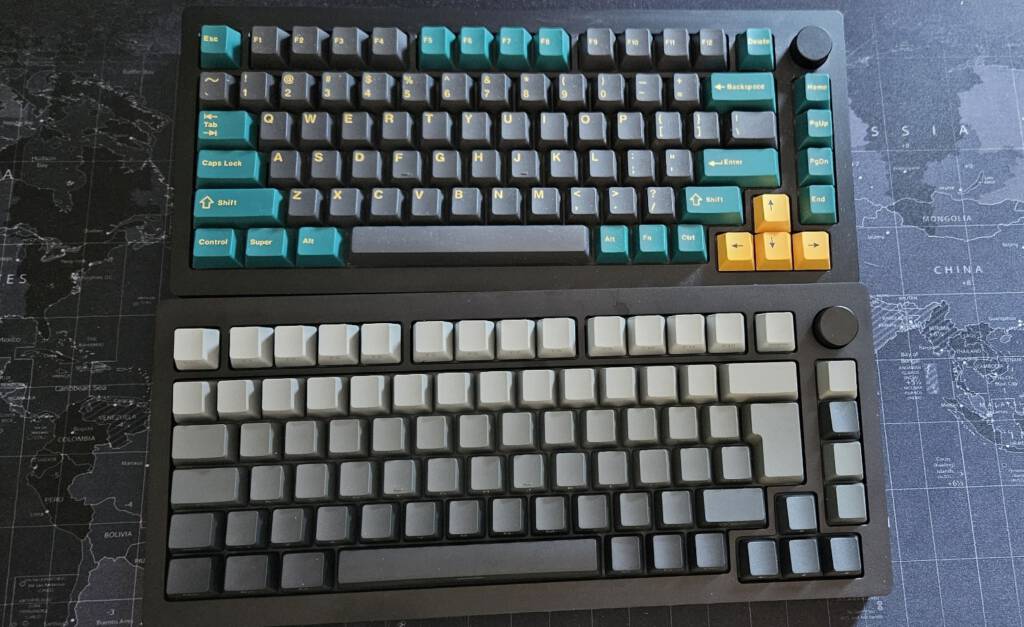
Monsgeek M1W SP ISO Review: No more wires
Monsgeek is a sub-brand of Akko that focuses on high quality for a low price. Monsgeek’s first keyboard was the M1, a 75% aluminum model. Now there is the M1W SP where the W stands for Wireless. I will share with you my experience, the similarities and the differences between these two Monsgeek keyboards.
Complete package
Unlike the regular M1, the M1W SP comes as a complete keyboard. The keyboard comes assembled with switches, keycaps and stabilizers. Of course you can replace or adjust these parts yourself if desired. This has been made as easy as possible. For example, 5-pin sockets are used and the keyboard is easy to open with the supplied Allen key.
Specifications
Structure:
Gasket Mount
Connection:
Bluetooth5.0 / 2.4GHz / USB Type-C
Backlight:
South-facing RGB
Hot Swappable:
3-Pin / 5-Pin Support
N-Key Rollover:
Support
Battery Capacity:
6000mAh
Polling Rate:
1000Hz In wired and 2.4G mode, 125Hz in Bluetooth mode.
Macro:
MonsGeek Cloud Driver
Stabilizer:
1. Pre-installed Purple Plate Mount Stabilizer
2. Separate TPU Double-shot Stabilizers
Switches:
Akko V3 Piano Pro
Materials:
PBT Keycaps + Aluminum Case
Legends Printing:
Double-shot Side-printed Gradient Shine-through
Keycap Profile:
OEM
Product Weight:
Approx. 2.2kg
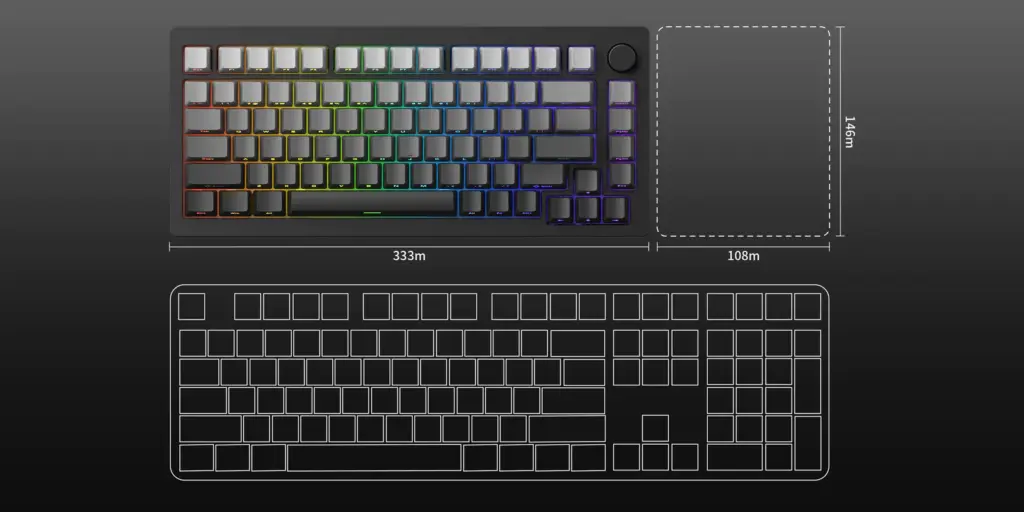
Dimensions:
33.3cm*14.6cm*3.26cm
Operating Systems:
Windows / macOS / iOS / Android
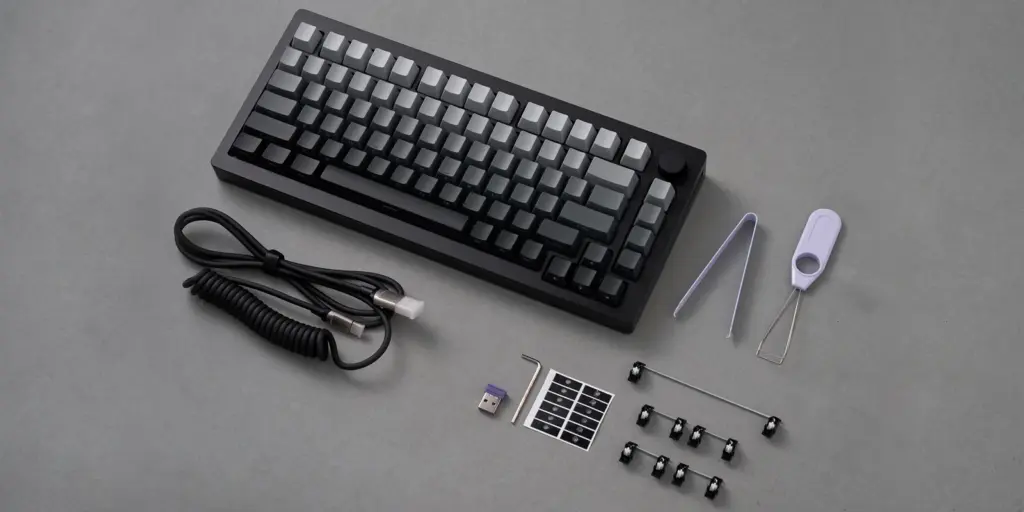
Package List:
Keyboard×1, Manual×1, Coiled Cable×1, Keycap Puller×1, Switch Puller×1, Teflon Pads (not pre-installed), Separate TPU Double-shot Stabilizers
Small changes from M1 to M1W SP
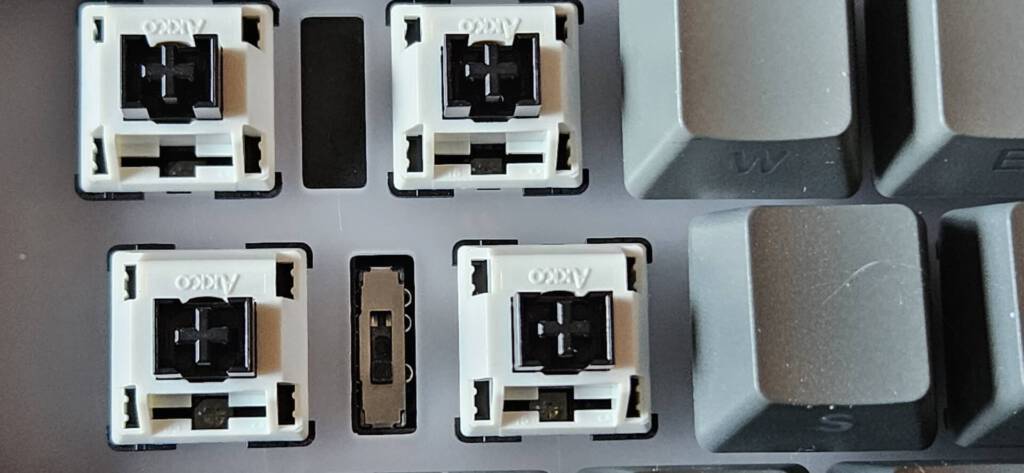
Compared to the regular M1, a number of improvements have been made. For example, the rotatable encoder has been slightly improved. It has an improved interior so that it gives even less friction and has become slightly higher. In addition, the poron case foam has become more elastic and the optional teflon stickers have recesses for the screw holes. These teflon stickers are intended for a so-called Force-break mod. As a result, there is less metal-to-metal contact, resulting in less ping. Furthermore, a dip switch has been added next to the caps lock switch. This allows you to choose Mac, Windows or wireless. Furthermore, unlike the regular M1, there are no screw-in stabilizers provided. However, plate mounted stabilizers (pre-lubed) are pre-installed and there is an extra set made with a different material to experiment with. The device still supports screw-in stabilizers however,
Opening the Monster like a Geek
Although the keyboard is basically ready for use, I still wanted to take a look at the inside of the M1W SP and immediately apply a force-break mod. The keyboard can be easily opened by means of 6 screws, which can be removed using the supplied Allen key. However, it is important to be careful when removing the mainboard because there are two cables attached to it that need to be unplugged.
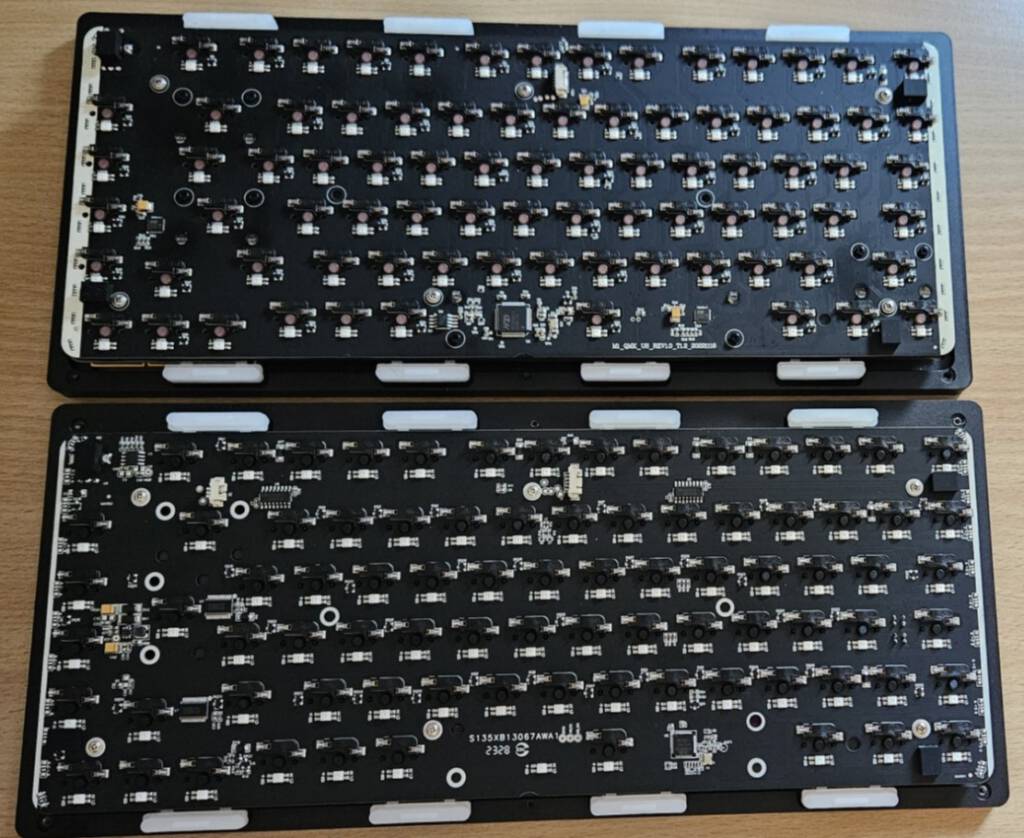
The mainboard is very similar to that of the Monsgeek M1. Here too I notice that there seems to be room for RGB LEDs on the sides. I wonder if they want to release a variant with LEDs on the sides in the future. The sockets again come from Kailh.
Some small mods
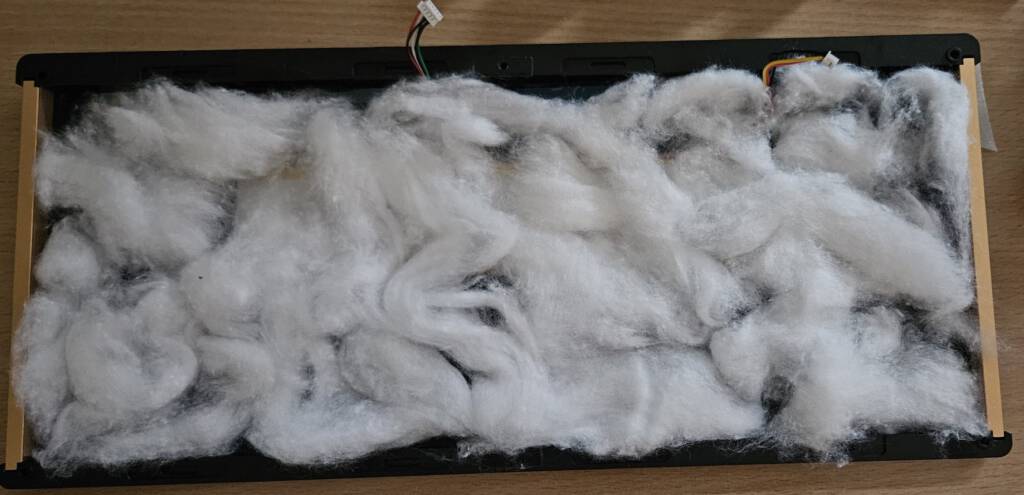
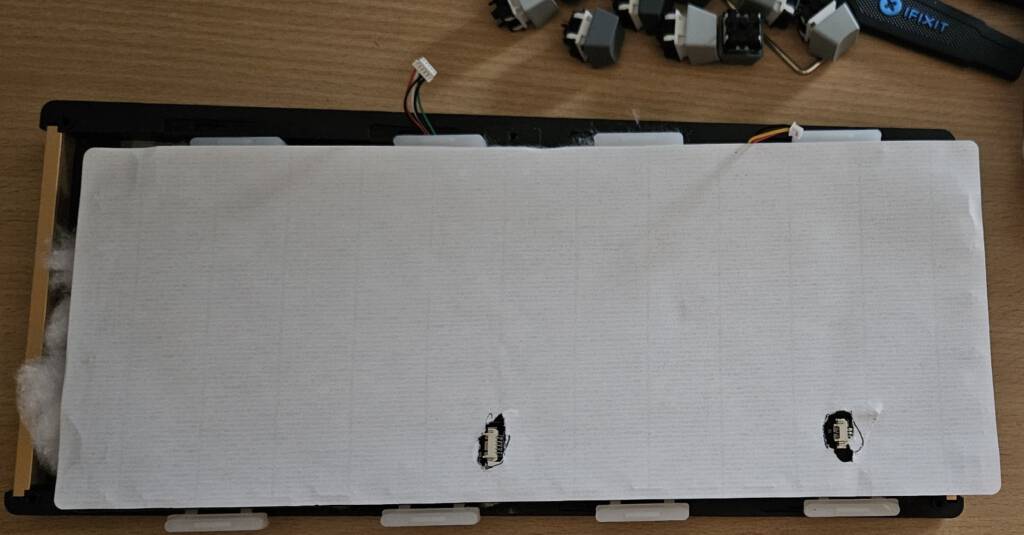
I did a little bit of modding myself. For example, I used the supplied teflon stickers around the screw holes of the frame to eliminate the slight ping. I also placed the supplied tape mod on the back of the mainboard. I left out the bottom foam layer and put a layer of cotton wool in the bottom. This gives a slightly different sound.
It’s time for switches B……
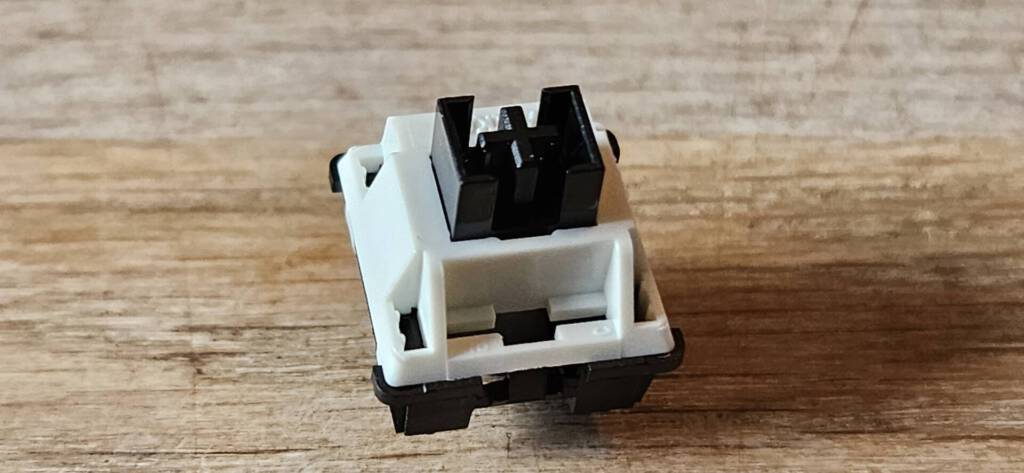
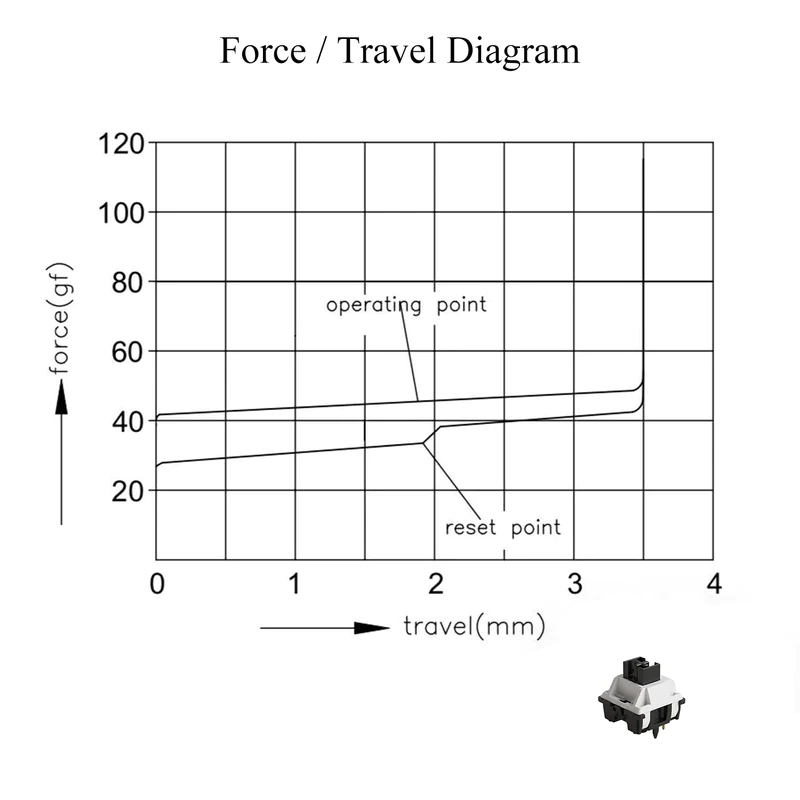
The included switches are Akko’s recently released Piano Switches. These are linear switches that operate very smoothly. They have a slightly higher pitch or “clack”. They come well tuned from the factory and I have seen no need to lube them myself. This is also nice with a complete plate. I personally prefer to type with the cream yellows. these feel just a bit more smooth. So many people, so many wishes. Fortunately, there is a lot of choice when it comes to switches.

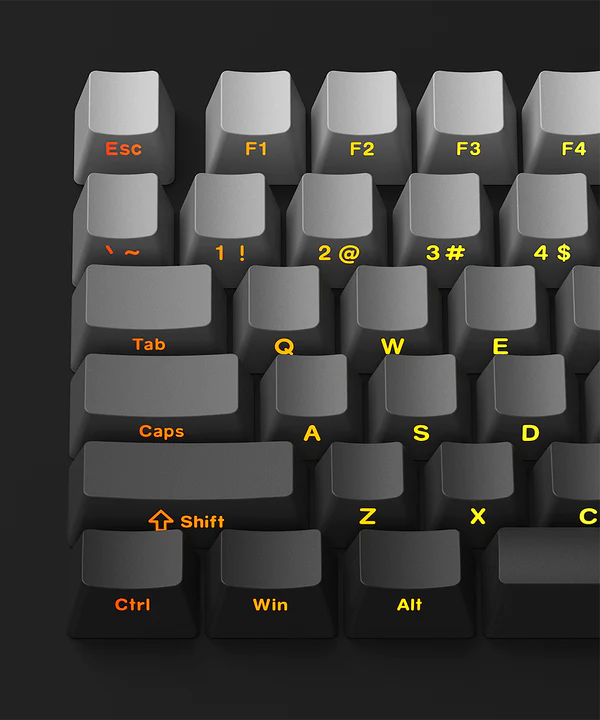
Ninja Keycaps
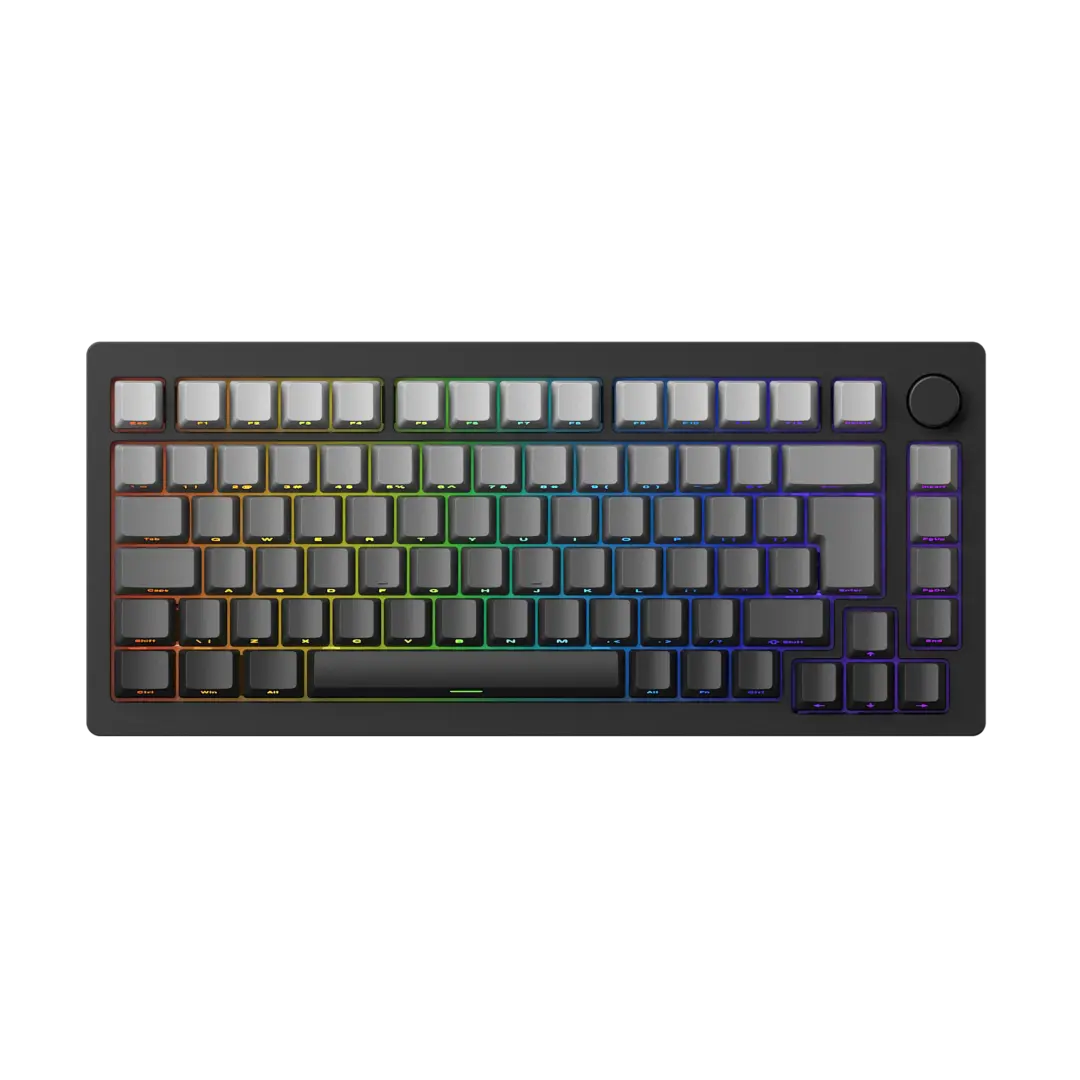
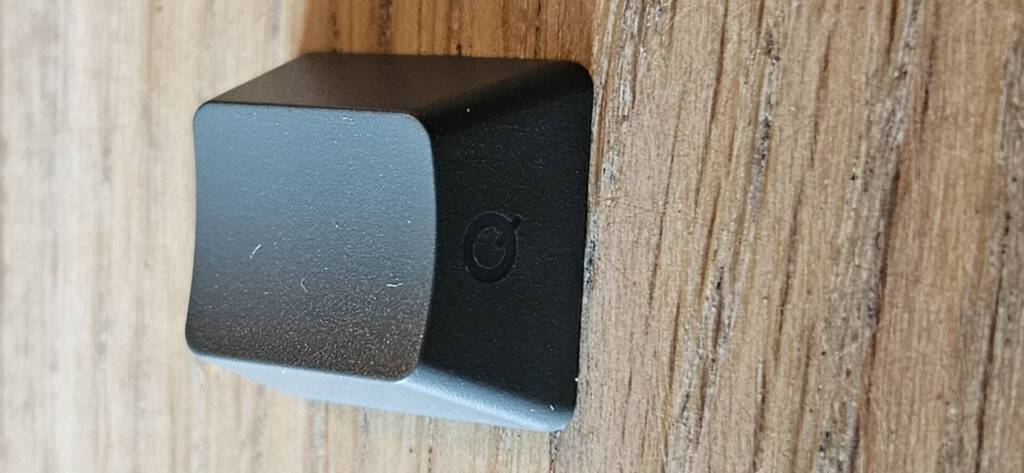
The keycaps that come with the M1W SP are of the so-called stealth type. The fonts are on the front instead of on top. Normally they are not visible, but if you turn on the RGB lighting, they come to life thanks to a small cut-out. There is no glow through the switches, which makes the whole look neat. The encoder does not transmit light. This feels sturdy and has a slightly different interior than the regular M1. It should be a bit more stable, although I’ve never had any problems with the regular M1. They are also interchangeable with each other. If you want to use some other keycaps you can take a look at the collection from Akko here.
Wireless connectivity
The big difference with the regular M1 is of course the wireless functionality. The past few days I have used the 2.4ghz connection through the supplied dongle. I experienced no problems and enjoyed the extra space on my desk. I was also curious if there wouldn’t be any problems with the signal between the keyboard and my wireless mouse (Logitech). I had seen a single user write about this online but I did not experience any problem with this. The connection with bluetooth also worked without problems. You connect the device by holding down the FN button in combination with the E R or T key. When it starts flashing you enter pairing mode. the next time you switch to the desired device by short pressing FN together with one of these buttons. The 2.4Ghz is the most stable connection after USB-C. Working with the wireless connection is excellent, just like casual gaming. However, if you want to play competitively in shooters, for example, the USB-C connection is of course recommended if you want the best possible connection.
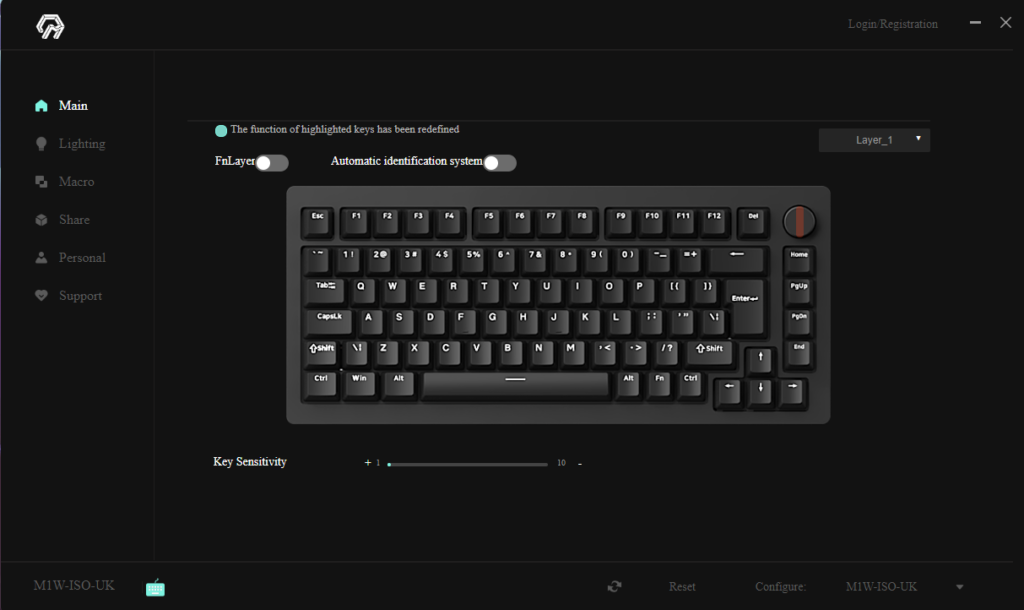
Software
Unlike the regular M1, the M1W SP version does not come with QMK/VIA support. Instead, a proprietary suite is available called Monsgeek Driver. The interface is simply designed and offers various options to personalize the keyboard. For example, it is possible to move keys, create macros and FN layers and adjust the lighting. It is also possible to import custom profiles from other users. However, the encoder cannot be adjusted in terms of functionality. This controls volume or the intensity of the lighting.
Verdict of the Monsgeek M1W SP
The M1W ISO is an excellent variation on the standard M1. However, in addition to advantages, there are also potential disadvantages. This mainly depends on your own wishes / requirements. The wireless convenience is of course a big plus. The fact that both a 2.4Ghz and 3 different Bluetooth connections are possible is a big plus. In addition, the wired option will of course still be present.
Small quality of life improvements such as the improved Teflon stickers with cutouts for the screw holes, better material for the included optional sound-reducing mat and the improved encoder are welcome. The lack of VIA support can be a drawback for people who tweak their keyboard to their own liking. For many people, however, the included software will be sufficient. I do miss the integration of a key tester in the software.
The model I tested is the ISO version. I could easily get used to this layout. Although we in the Netherlands are mainly used to ANSI, this is not the case in other parts of Europe. Logitech also supplies mainly in the ISO layout in the Benelux, so there are quite a few people who prefer this layout. This kit is ideal for people who want to get started right away. The keyboard comes with good, smooth switches that don’t need work and high-quality keycaps in a stealthy look.
If all this appeals to you but you prefer an ANSI layout, this is also available and you can also choose from two other colors. They can all be viewed on the product page of the M1W series.
For this review I tested the M1W SP version which comes complete with switches and keycaps. For the DIY version you can check this link.
Coupon for first time orders
If this is your first order on Akkogear.eu and there is no current discount on the website you can use coupon HELLOAKKO to get 10% your first order!
This review was first post in Dutch on Tweakers.net link here
Akko send me this product for review, the links in this article may be affiliate links which help me maintain this website.