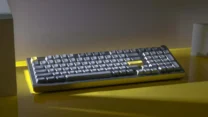
Keychron is on a roll with their Q series of high quality boards for competitive prices. After their recent success with the Q1, Q2, Q3 and Q4 they now launched the Q5. The Keychron Q5 is a 96% or a 1800- style layout board. This layout is perfect for those who want to have a numpad without the bulk of a full-size keyboard on their desk.
The Keychron Q5 has, like all the other Q series so far, full VIA and QMK support. This is great for those who wish to be able to program their boards to their liking.
Build
Just like the other members of the Q series the Keychron Q5 is made out of a full metal CNC machined body. The Q5 comes with a double gasket design which not only uses gaskets on the plate but also between the top and bottom cases. According to Keychron this reduces the sound resonance between the metals. The board has hot-swappable sockets so its easy to change switches. Both 3 pin and 5 pin MX switches are supported. So you can use Cherry, Gateron or maybe some of those lovely Jelly Purples or JellyBlacks from Akko! The Keychron Q5 comes with Screw-in stabilizers which is great for stability. Afterparty stabilizers from Cherry and Durock are supported as well. Enthousiasts will be happy to hear the board has a south-facing RGB layout. This makes the board compatible with Cherry-style keycaps.
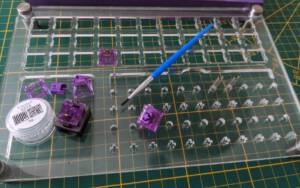
Exploded view of the Keychron Q5
Perfect size for numpad-lovers
The 96% or 1800 layout is perfect for those who love their numpad but don’t want the bulk of full-size. Basically the layout is very close to a full size. Some keys right of the spacebar are shrunken down like alt, shift and control. This and a smaller zero on the numpad make the left and right side of the board crawl closer to the arrow-island. The INS, Page UP and Page down buttons have been sacrificed on the knob version but these are still accessible through shortcuts. The version without knob only lacks an INS key. Of course with the Keychron q5 running with QMK and VIA you can re-program this to your liking. After owning both full size and TKL boards I currently use an Akko 3098B with the 96% and I find it to be the perfect middle ground.
Choices, Choices everywhere!
One of the hardest part buying the Keychron Q5 will be choosing version. There are three colors to choose from; Carbon Black, Silver Grey and Navy Blue. All three come in a fully assembled version or as a bare-bones option. When choosing the barebone version it is possible to get a ISO-layout as well, which is great for European customers! All models are Windows and Mac compatible!
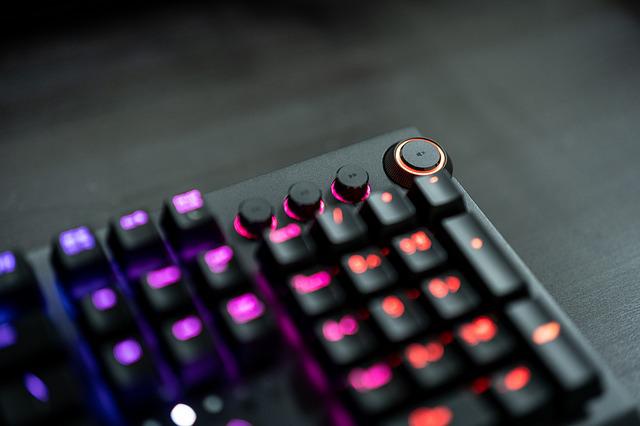
To Knob or not to knob the Keychron Q5
Both the barebone kits and fully assembled options can be had with or without a knob. The knob by default controls volume but just like the rest of the board, this can be reprogrammed. Choosing a model with a knob sacrifices some dedicated keys on the board, so pick your poison here.
Keycaps and switches
Colors come in Carbon Black, Silver Grey and Navy Blue. All three have matching keycaps while choosing a fully assembled board. The keycaps are double shot PBT, OSA profile. The OSA profile are sculpted keycaps with a OEM hight with the curvature of the SA profile. For more on different profiles, read this article on mechlounge.com
When going for the complete package you get to choose from a selection of 3 switches. These are the linear Gateron Red, clicky Gateron Blue or tactile Gateron Brown. All three are the of the G Pro line-up. These switches come pre-lubed (except the Blue) and should produce less wobble then standard Gateron switches.
Pricing and availability
The Keychron Q5 is available now. Check for all models and pricing on Keychron.com
Or check out some great alternatives from Akko at the Akkogear.de store and use code RIEZ1984 to get 10% off!
Dive into the world of mechanical keyboards and soon you will read about people lubing switches. People will talk about things like smoothness, spring-ping, switch openers. You might start to feel overwhelmed or unsure. You may ask yourself: “Can’t I just use my mechanical keyboard the way it is, what lube do I need, what tools do I need?’ In this article I will try to explain a bit about lubing along with some advice about what to look for.
If you are going to lube your switches it is important to choose the right lube.
The purpose of lubing switches.
The main purpose of lubing switches is to make keypresses feel more smooth and consistent. When lubed up the stem will slide in and out the housing a lot easier. The Crunchy sounds from bottoming out can also be reduced significantly.
You can always buy pre-lubed switches. However, lubing switches is also an important part for enthousiasts to make their keyboard feel unique
What do you need for lubing your switches?
Types of lubricant
If you are going to lube your switches it is important to choose the right lube. If your switch is of the tactile kind you will want a thinner lube. On the other hand when lubing a linear switch you should go for a bit thicker substance. For best results lubing the springs should be done with an oil-like substance.
Tactile switches
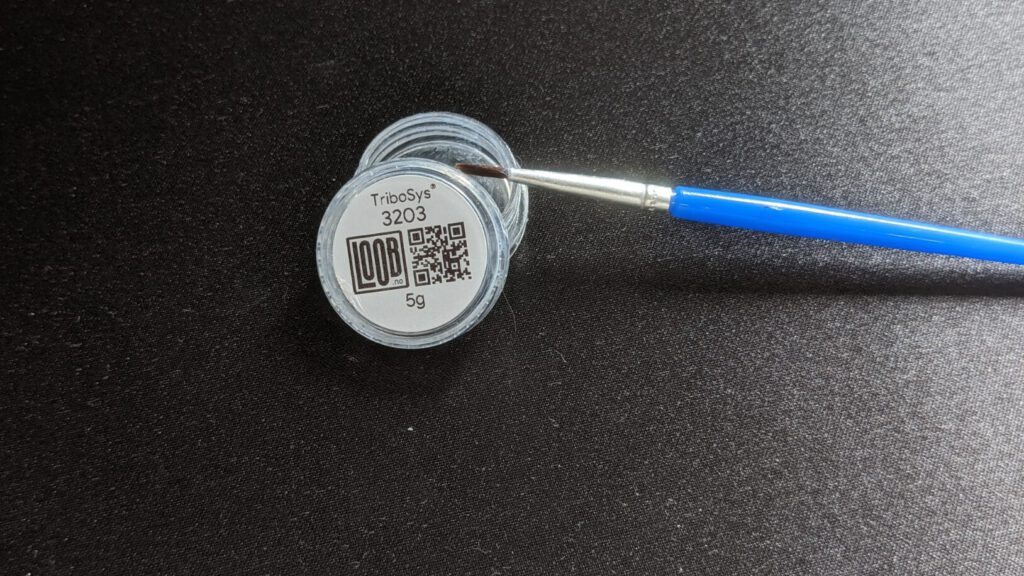
My go to lubricant for tactile switches is Trybosis 3203. It gets the switch smoother without reducing the tactile feeling. That is, if you lube it right, more on that later. Thanks to its low viscosity it is quite easy to apply with a brush.
Linear switches
For linear switches the most used lube is Krytox GPL205 grade 0. This lube has more viscosity and is more buttery-like. An alternative to this could be Trybosis 3204. Linear switches are a bit easier to lube in that you don’t have to worry about not getting the stuff on the stem legs.
Clicky switches
Personally I’d leave these alone. But if you want to lube these do the same as with the tactiles.
Springs
For the springs I recommend Krytox 105. Since The springs need to be as flexible as possible a thin oil is preferred here over a thicker lube.
What you need
Lubricant
First off you will need your choice of lubricant. For tactile switches Trybosis 3203. For linear Krytox GPL205 or Krytox 3204 and Krytox 105 for springs.
Trybosis 3203
Brushes
I recommend at least two small brushes. Grade 0 or 00 for example.
Switch opener for mechanical keyboard switches
A switch opener lets you open up the switches easy, fast and safe. There are several options here for example one from Homepage Homepage” target=”_blank” rel=”noreferrer noopener nofollow sponsored”>Ali-express or Epomaker.
Switch opener
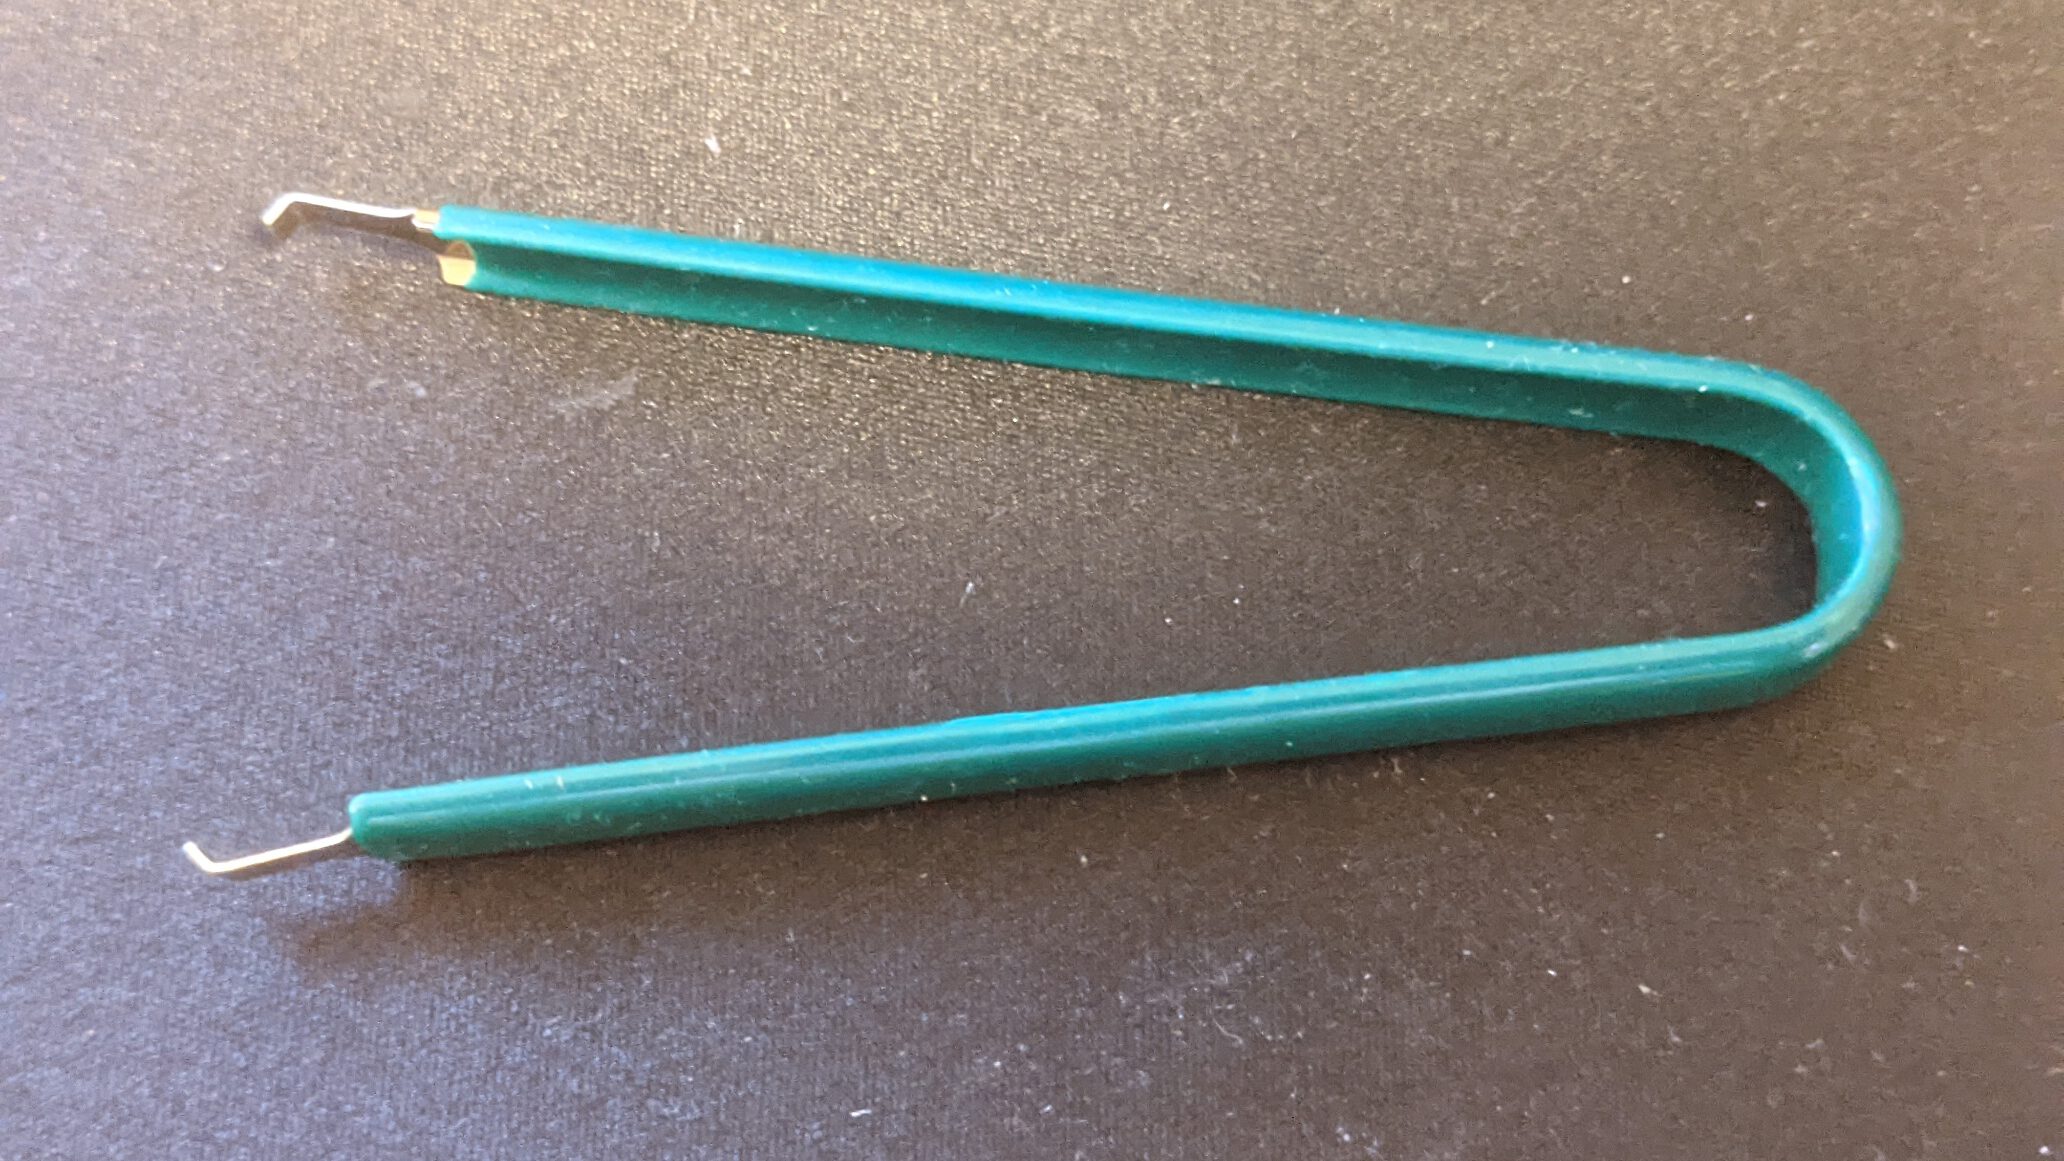
Switch puller
For taking out your switches you will need a switch puller. I recommend something like this. Its a lot less prone to making scratches then some other alternatives and gets your switches out easy. An alternative is this 2-in-1 from Epomaker.
Switch puller from Ali-express
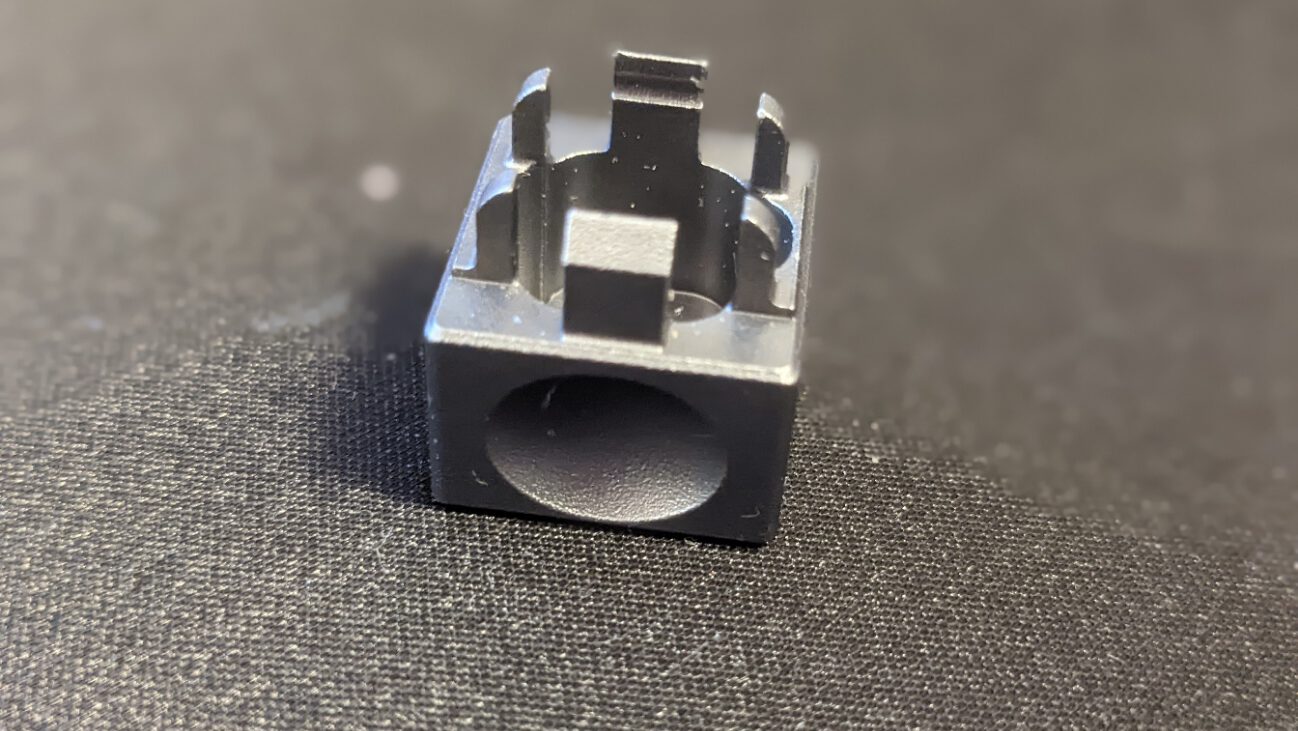
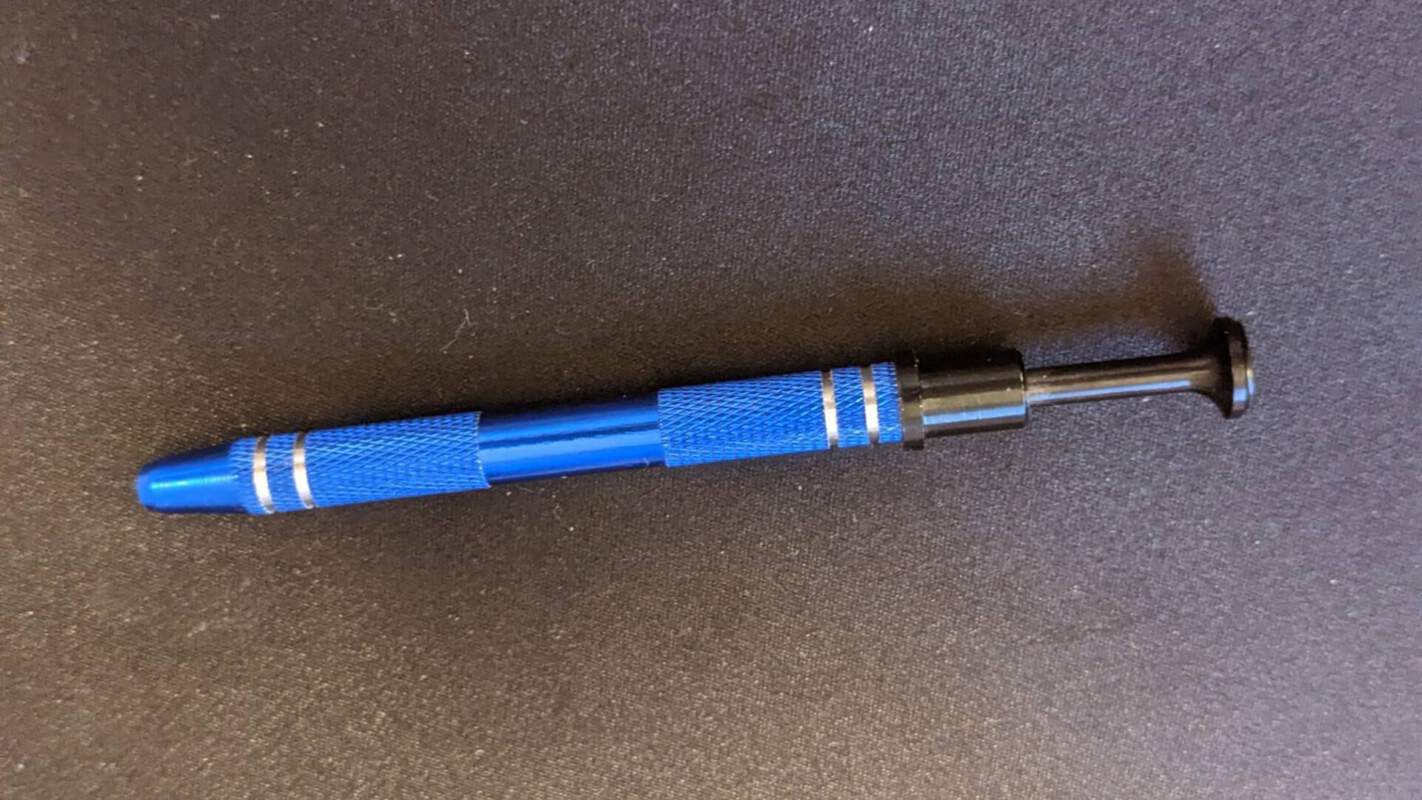
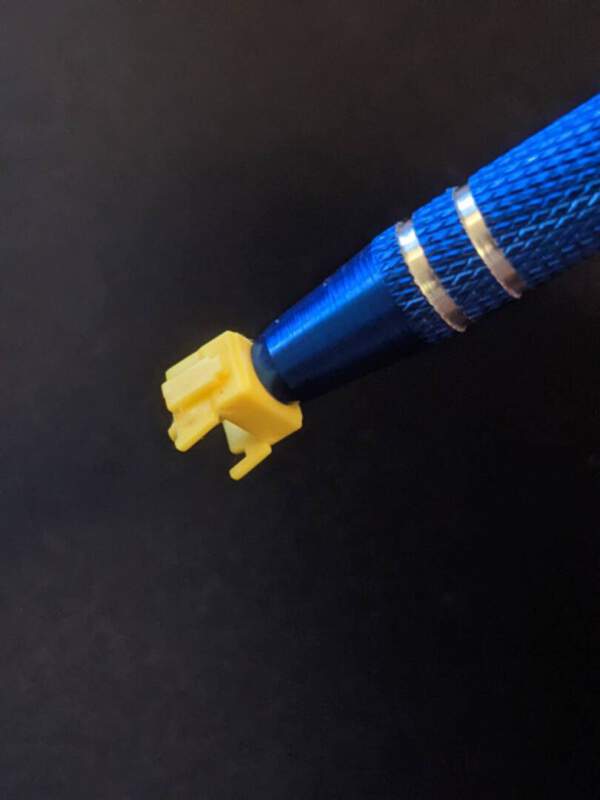
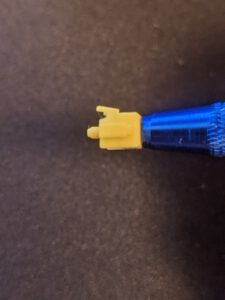
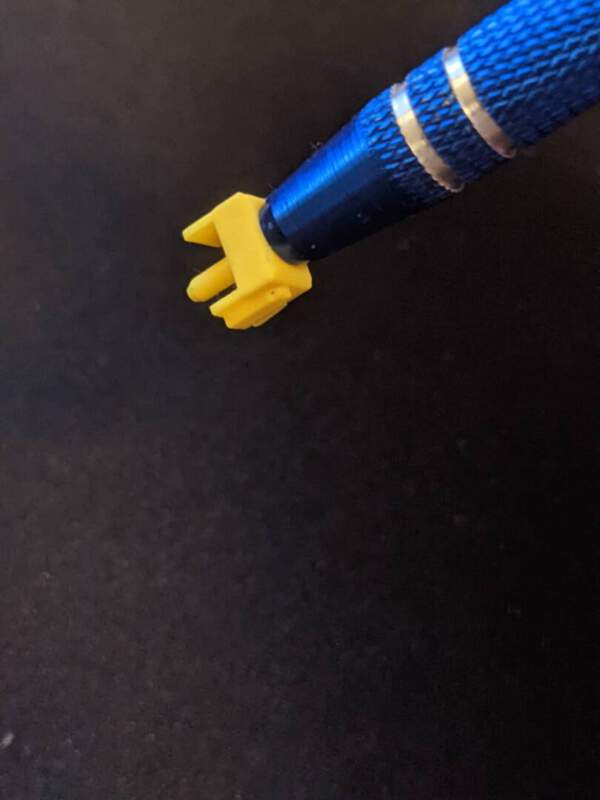
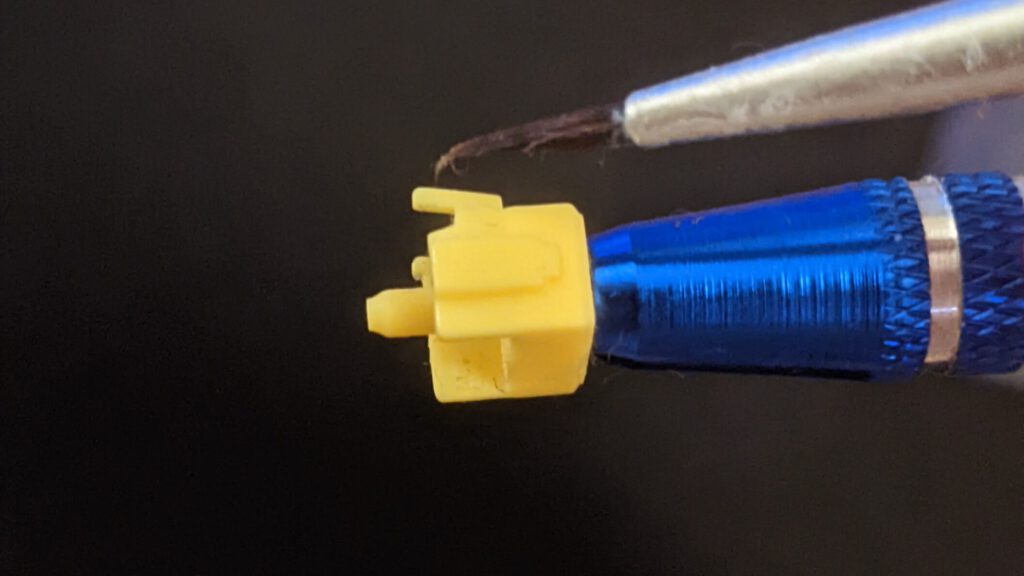
Jewelry crown
This is a handy tool to pick up your stem without getting the grease all over your fingers.
Shout out to Alex from Phoberos, Real cool guy who sells genuine lube on Etsy. He delivered fantastic service when my lube got lost in transit.
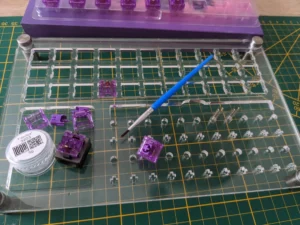
Optional
A Lubing station is an optional accessory which can come in handy while lubing a lot of switches at a time and you want to put the parts away safely.
Lubing the switches
Opening up your mechanical keyboard switches
Open up the switches by putting the switch in the opener and gently press down until the top housing gets off. After gently removing the top take out the stem and spring.
Opening a switch by pressing it down gently
Housing
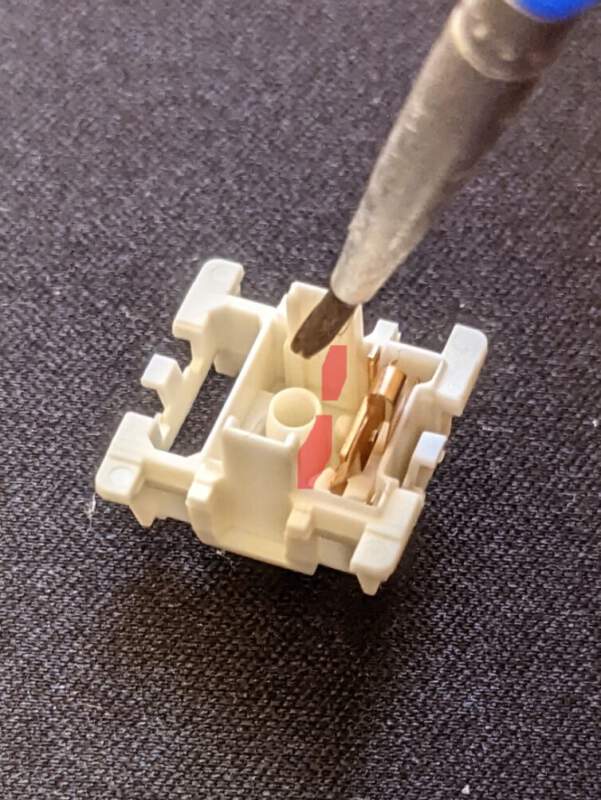
When lubing the housing a tend to do this only with the bottom of the housing. First paint on of the sides, then the other and then gently go around the outside of the center hole. All this with a very thin layer, you should not see any white residue.
The highlighted part which should be lubed: both sides and around the outside of the center hole
Stem
The front between the legs needs some lubeThe sides should be lubedLube the back as wellOnly lube the feet on linear switches
Spring
The springs can be lubed with a brush but to avoid this tedious task many people tend to “bag-lube” the springs. Simply put about a pea-size of Krytox 105 in the bag and “paint” the inside of the bag. After this put the springs in, ad a bit of air by blowing in it and shake that thing!
Bag-lubing can safe a lot of time
Done
And that’s it! you can put your switches bag together and enjoy the smoothness!
Opinions are my own. This article may contain referral links. By using these links you support this website and allow us to get products in for review and testing.
About two years ago I bought my first hot-swappable keyboard. I really liked the hot swap concept. After buying the board with Gateron browns I later switched to Gateron yellows. Soon I started to look at other possibilities like different kind of keycaps and cables. After that there was no turning back the rabbit hole, no light to be seen behind me anymore! I started watching Youtube video’s, reading blogs and forums regarding mechanical keyboards. Things like “tape mods”, “lubing”, “Thocky” etc. started to fill my head…. Ok I had to get my hand on new stuff! After having bought the Macaw keycap set from Akko for my Glorious board I started looking at what else they had to offer. I finally settled on the Akko 3098B.
Enter Akko
Akko is a Chinese company which was founded in Shenzhen in 2016. They are widely known for their high quality double shot pbt keycaps like their Neon keycap set and beautiful special editions like the limited edition PC75B plus Year of Tiger 75% keyboard. Their keycaps come in beautiful boxes with a magnetic closing mechanism and a keycap puller. This for prices that are a lot more wallet friendly then those of GMK for example. The Cherry on the cake is here that there are no group buys or long waiting times. People gave Akko got some criticism about their keycap designs being quite similar to other more expensive brands in the past but lately they are releasing more unique designs.
Keycaps
Keycaps from Akko come in different profiles like Cherry, OEM and OSA but they also have their own ASA profile. This profile is almost the same height as OEM but the looks are more in line of SA. Akko has their own website for Europe as well. This saves extra risks of customs and tax costs as these are calculated at checkout.
The different kind of keycaps
Switches
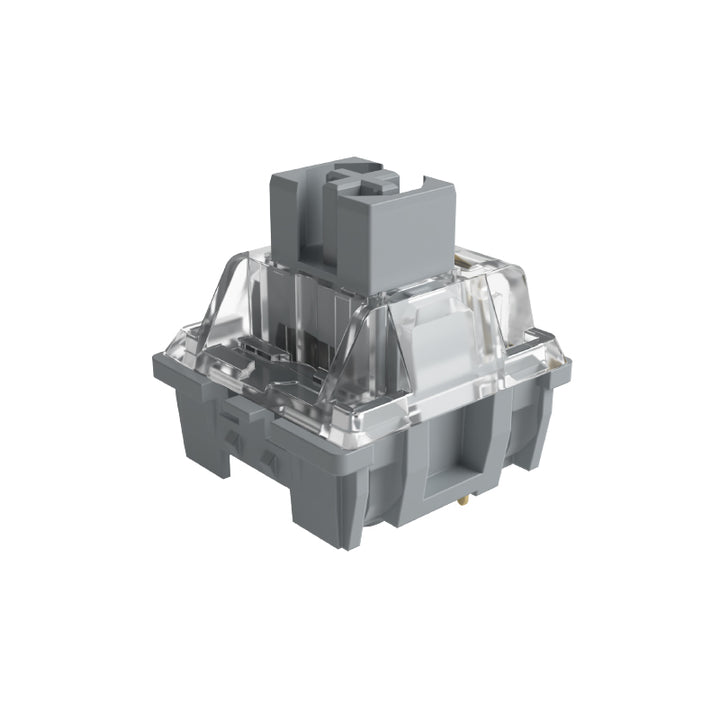
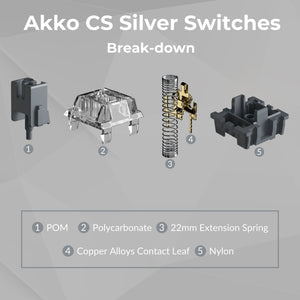
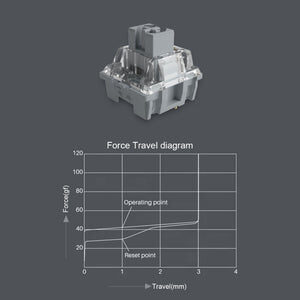
Akko also sells various types of switches and collaborates with TTC and Gateron among others. Next the usual suspects Akko also has more and more switches in their CS line of switches. These switches are modified existing ones which have been adjusted after receiving feedback from customers. For the 3098B I have chosen the CS Silver switches which is a fast linear switch.
The CS Silvers are not on this chart but you can find all the relevant info on Akko’s website
So much to choose from
After browsing online and comparing different switches I finally decided I wanted a 96% percent keyboard. This because I liked the fact my TKL was pretty compact but I missed my numpad. For me this was a good compromise. What I liked about the 3098B was the fact not all keys are were cramped together like some brands do. The next difficult task for me was to figure out which look I wanted. I finally decided I would go with something neutral with to option to add some flair to it.
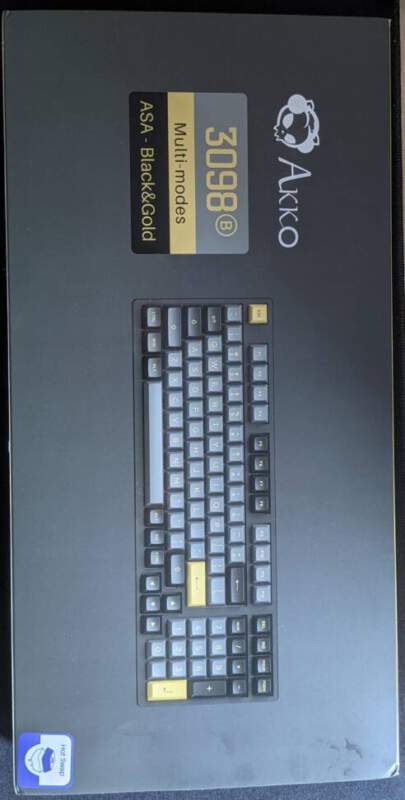
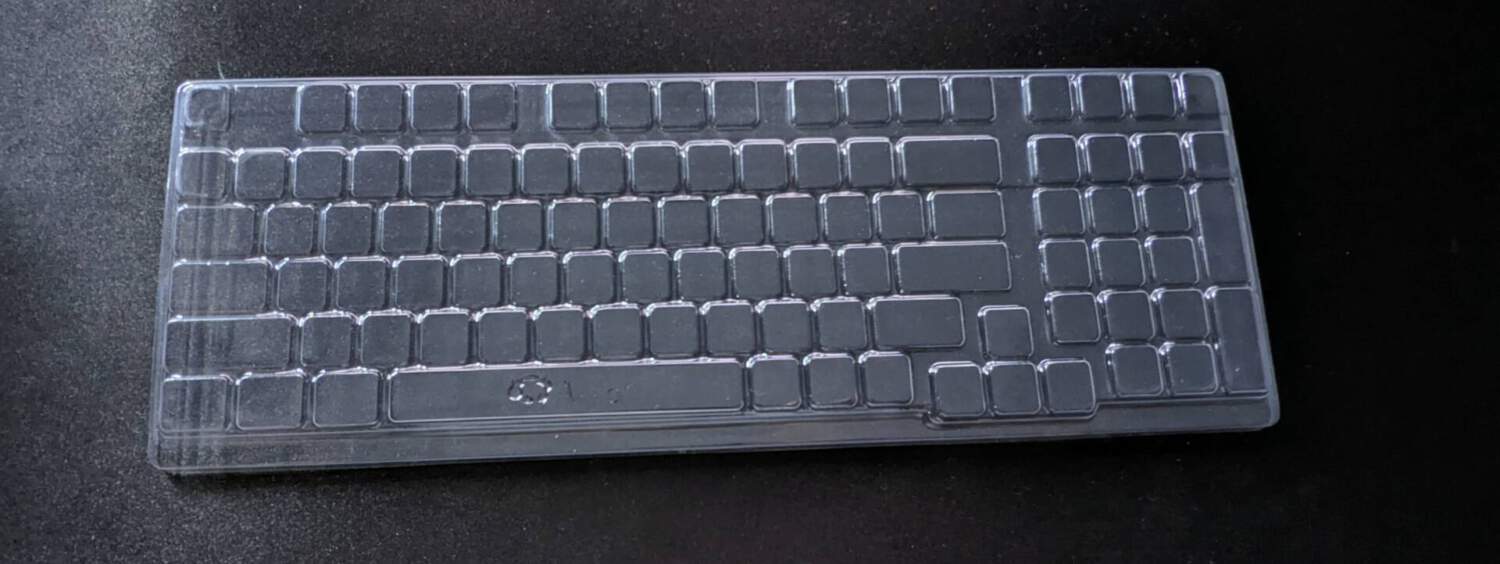
Unboxing the Akko 3098B
The box itself has a cover which shows a nice image of the board itself in full color and on the back there are images of some important shortcuts like volume control and media keys. Inside the box itself the keyboard comes well protected with a dustcover, a plastic sheet and on top a nice protective layer of thick foam. There is a carton box at the top which holds the extra keycaps, a manual, an usb-a to usb-c cable, a wireless usb-a dongle for 2.4ghz connection and a keycap puller. Unfortunately there is no switch puller included. Lucky for me I had one laying around.
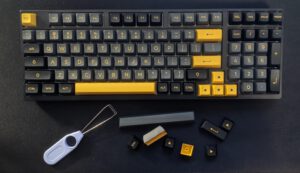
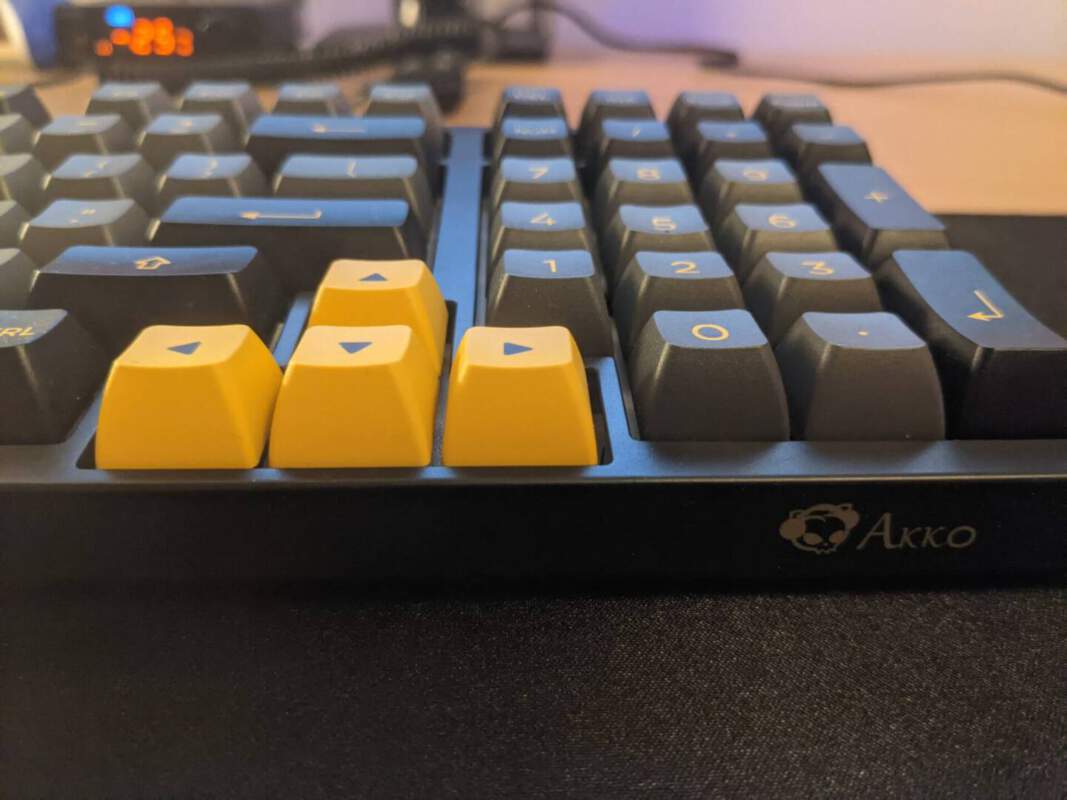
The board itself
The frame of the board itself is all black and has a little Akko logo on the front right. The standard keycaps are black with a yellow font and grey ones with the same yellow or “golden” font.
The added accent colors are very nice to look at indeed. Personally I am not using them at the moment because most of my setup is mostly (boring!) black. But I plan of putting them back in as soon as my matching aviator cable arrives! After a short test run with the keyboard I was very impressed by the stock feeling of the stabilizers. No rattling and need to throw these out for replacement. What a difference compared to my previous board! The stabilizers come pre-lubed but aren’t clipped out of the box.
Opening up the Akko 3098B
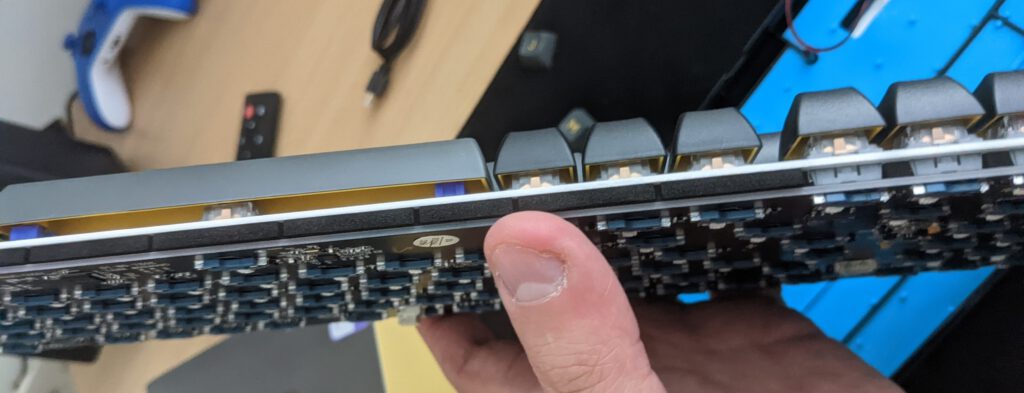
I gently opened up the keyboard by going around the frame with one of those triangular shaped opening picks. After that I removed some screws that were onder the keycaps and presto! Now the keyboard can gentlybe opened. Be careful not to take the SMASH approach, because the PCB has two removable wires connected to the battery compartment and daughter board. Between the PCB and upper frame is a layer of sound dampening foam.
The sound dampening foam between the top plate and PCB
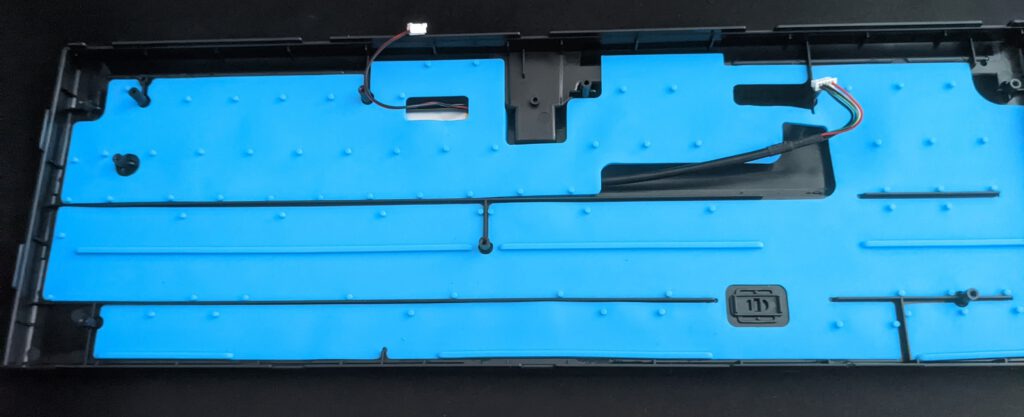
On the bottom there is a blue silicone pad to reduce the hollow sound which a keyboard can produce. This isn’t worlds best solution but I was surprised by how good the keyboard actually sounds stock! Apart from remembering to put the cables back in their sockets be careful the align the little switch at the back of the PCB with the plastic slider seen in a cutout in the blue foam. Otherwise you will have trouble using the USB/MAC/WIN switch at the bottom of the board. I made this mistake the first time 🙂
The bottom of the keyboard. Notice the removable cables and the switch
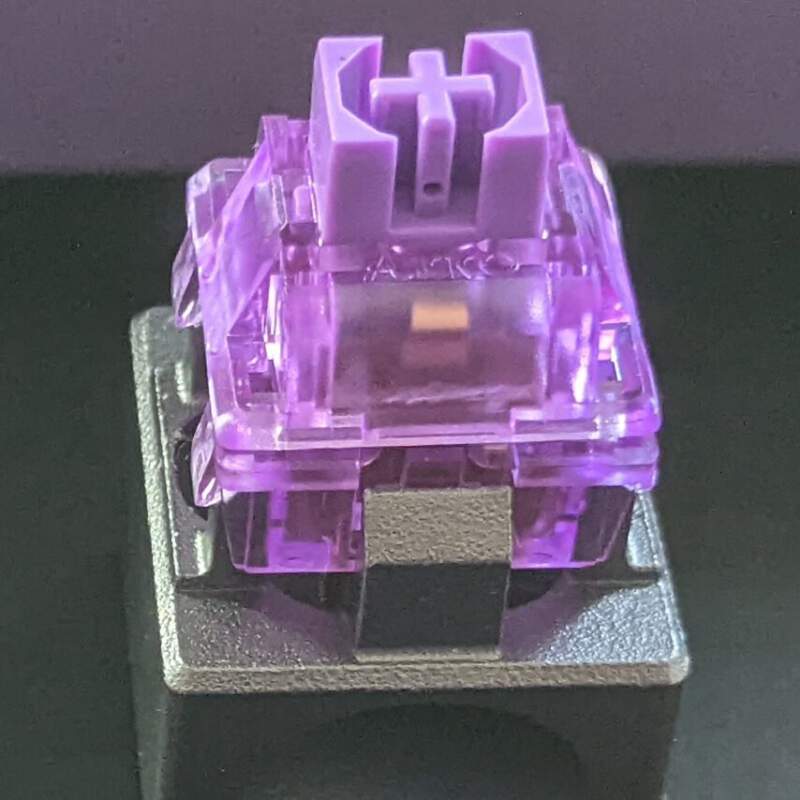
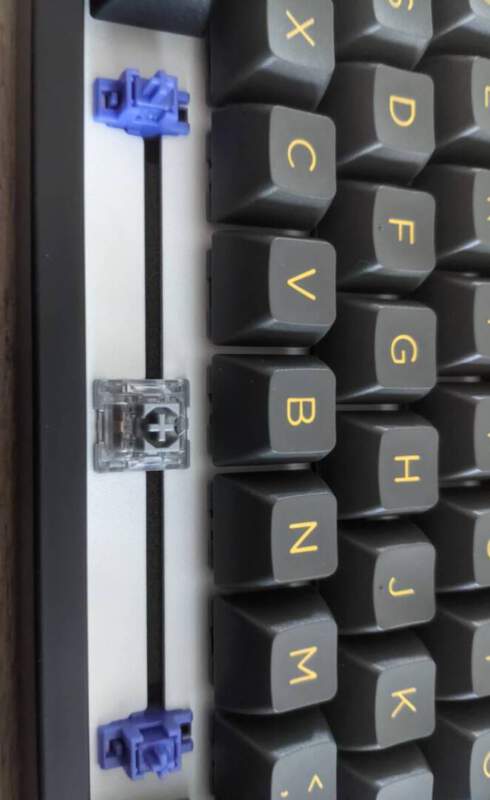
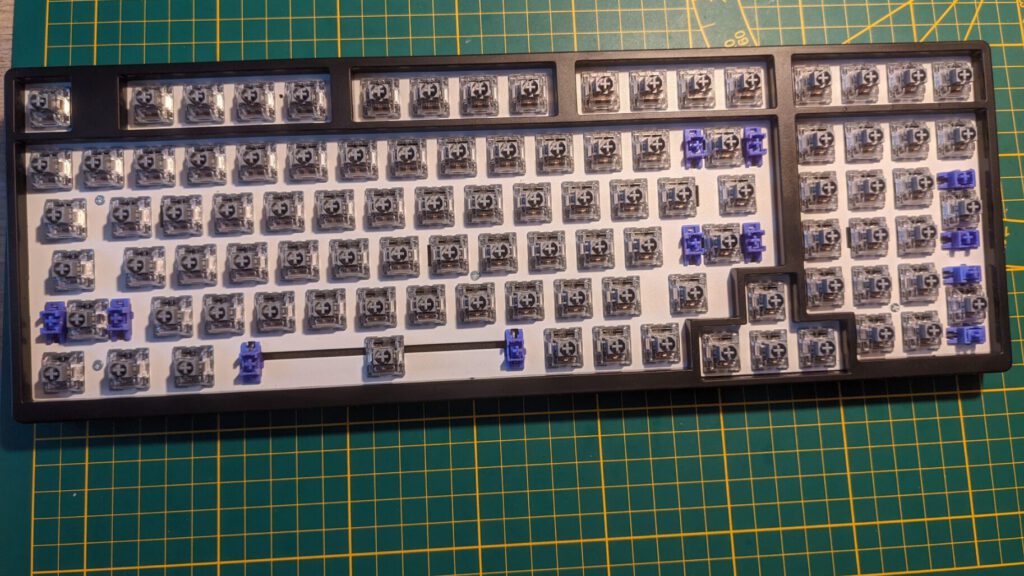
Switches
Choosing between switches was one of the hardest things buying a new keyboard in my case. I wasn’t sure if I wanted to go with linear or tactile switches. I was leaning towards the Jelly Blue switches because they sounded interesting, having two tactile bumps. But I ultimately decided to go with the CS Silver, mainly because they got a lot of praise from people saying they were very fast and easy to operate.
The CS Silver switches in the Akko 3098B
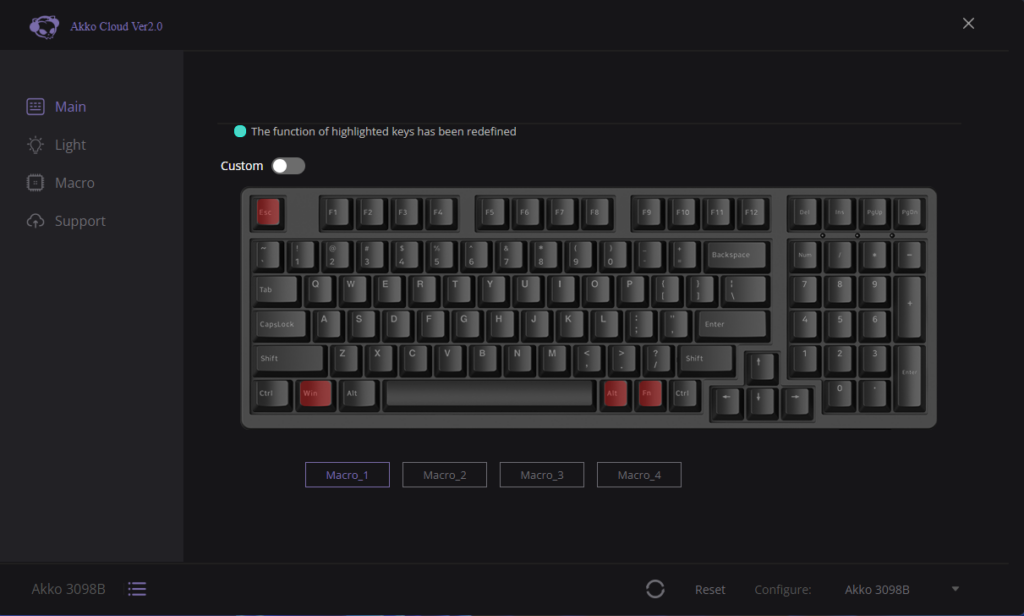
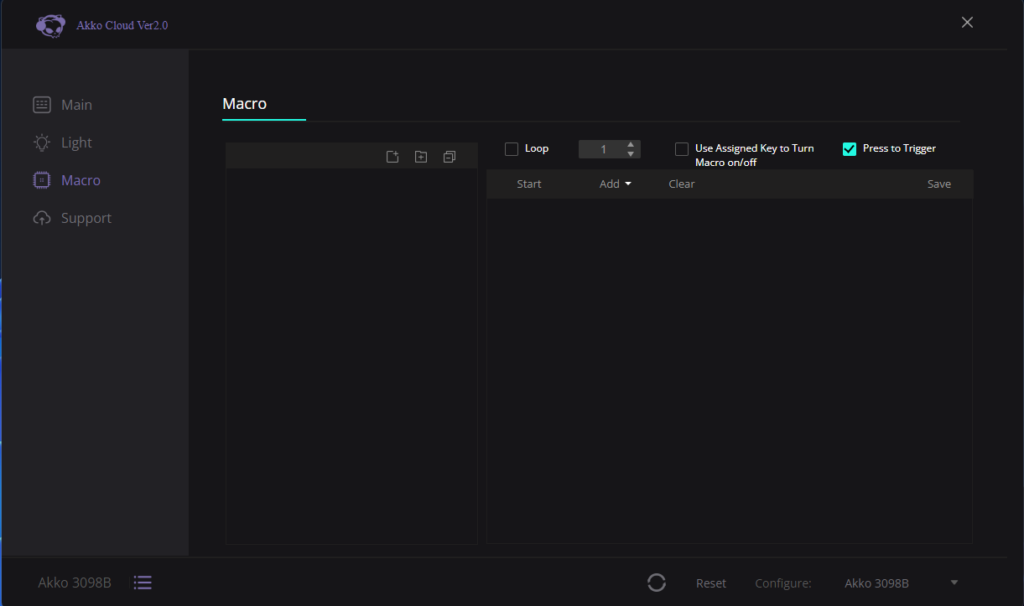
Software
Akko has an optional software called Akko cloud. It isn’t QMK or VIA but it gets the job done. There are customization options like macro’s, light affects and assigning different functions to keys. When first opening the software I immediately received both a firmware update for the keyboard itself and a software update. The software is completely optional and not required to use the keyboard. The included manual also points out the different shortcuts for using the wireless modes for example.
Conclusion
Overall I am quite impressed with what Akko delivers for around €99,- ex VAT. I think it’s insane value considering you get some great quality PBT double shot keycaps, extra keycaps in the gold theme, a wide choice of linear and tactile switches and a keycap puller. On top of that you get not only a wired option but also bluetooth + wireless 2.4 ghz. The size is just a little bit bigger then my previous TKL board but has almost the same functionality as a full size board. I love the fact there is a bit of space separating the arrow keys and the numpad from the main part of the board, this is the way! The stock stabilizers were actually very good and rattle free. The 3098B comes in many different colors and themes so chances are you will be able to find something that gets your freak on.
Too bad Home and End were sacrificed, who uses Ins? Well at least you can add those functions with the software Akko provides. Another thing I didn’t like so much was the fact the board was a bit hard to open. Oh and Akko, please provide a switch puller with your hot-swap boards 🙂 But that is just nitpicking especially since this board already is in pretty good useable condition straight out of the box. Even without mods this board is a solid option in this price range!
Pro’s
Very good price to quality ratio
Hot swappable
Extra keycaps
Almost full size in function
Size just a bit bigger then TKL
Very good pre-lubed stock stabilizers
Wired + wireless options
Wide choice of themes and switches
Cons
Difficult to open
Missing Home and End keys
No switch puller provided
This review was originally posted by me in Dutch on Tweakers.net
Coupon
If you want to get 10% off on any purchase on Akkogear.de just use coupon CLICKSMASHSTUFF or use this link.
Disclaimer
This product was bought by the author. Opinions are my own. This review may contain referral links. By using these links you support this website and allow us to get products in for review and testing.
Back when I had my first computer a keyboard was a keyboard. Never would I have thought about a mechanical keyboard or things like different switches. It was just Something that just came with the computer my parents bought in the store. I personally didn’t pay much attention to it. I remember it being this big clunky creamy-white thing with green indication lights on it. All I cared about was playing games on it (Red alert and Magic carpet were the first games I had on the PC)
“After plugging in my old membrane board I immediately knew this was a relationship that wouldn’t last”
About 10 years ago I accidently dropped my laptop and my wife said to me: why don’t you try to build your own computer instead of buying a new laptop? At first I thought to myself: no way I can build a computer. Why not just get one from the store? I decided to go online anyway and put Google and YouTube to work. After diving into the world of computer parts, visiting forums and watching YouTube videos I started the adventure of building my first rig.
I didn’t pay much attention to my mouse and keyboard. I just grabbed a set from the local store and went with it. It was a simple set from Logitech, it got the job done. After a while I started thinking what I could do to “perfect” my build. Well as we all know, that is the first step into an endless loop. After changing my gpu a couple of times, I started reading more and more posts about people using mechanical keyboards and I started to get interested.
I started reading about different switches, of which at the time most mainstream boards had a selection of brown, blue and red. I watched and read reviews and opinions on these types of switches and after a while I bought my first mechanical keyboard. It was a Coolermaster Masterkeys with Cherry brown switches. I was instantly in love! The sound, the weight, the looks, never did a keyboard genuinely got me enthusiastic.
Two years or so went by until disaster struck; My cat decided it was time to puke over my beloved mech! After plugging in my old membrane board I immediately knew this was a relationship that wouldn’t last. I went online, thinking I would just order the current version of my beloved mech. Then I saw already a lot had changed. Mechanical keyboards where getting even more populair and more and more brands were pumping out boards. Brands like Razer, Logitech, Corsair, Cooler master and many others were offering all kinds of cool boards.
My previous board had red lights in it which I thought was really cool but man Unicorns were starting to puke all over these things! Eventually I bought a newer version of my trusted board instead a little less bulky and R&B lights (yes no G!).
A year or two ago I started looking at boards again. And this time the landscape had once again changed drastically in my eyes. People were getting more and more serious about mechs. Apart from the usual suspects brands like Leopold, Hyperx, Akko, Glorious, Ducky and many more were pumping out beautiful and many different keyboards. No longer was it just about looks. Things like size, colors, feeling, Hot-swap, low profile and colored keycaps were a thing now. All this was already happening in the enthousiast scene but now it started to get the attention of the average consumer as well.
After a whiIe bought myself a Glorious TKL board which really launched my enthusiasm for the mechanical keyboard hobby. Then I began experimenting with different switches, keycaps, lubing, modding. At first I started with small stuff like cheap keycaps on sites like Ali Express and Soon I found myself getting deeper and deeper in the rabbit hole…