Dutch technology website Tweakers.net interviewed principal engineer Jeremy Soller from System76. In this interview Soller revealed that System76 is going to build a distribution center in Europe, possibly in the Netherlands.
System76 is working on an ISO version of its Launch keyboard though the ANSI version is also expected to come to Europe.
According to Soller, System76 wants to make it easier for European people to order their products by opening a distribution center in Europe. By sending from Europe they can lower the import taxes and shipment costs for customers in the continent.
System76 is also working on a 65% version of its Launch keyboard. This so called Launch Lite will have to make due without a usb 3.2 hub.
For more information and to read the original article in Dutch, please visit Tweakers.net
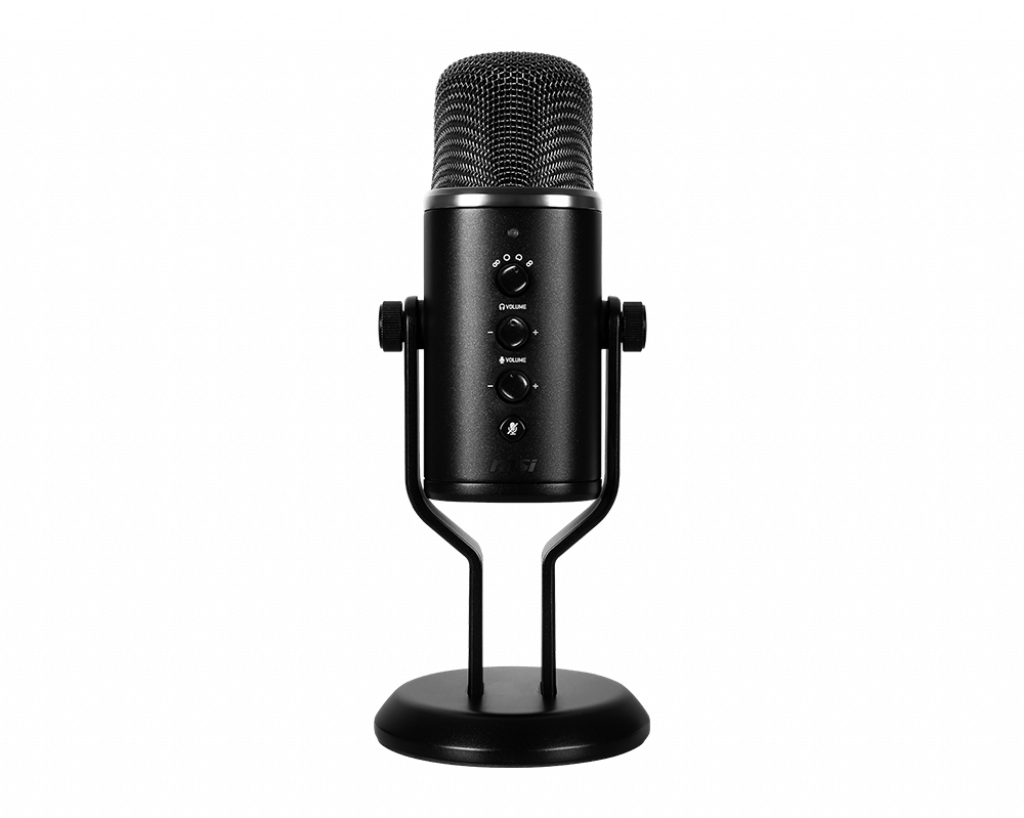
MSI recently introduced a microphone aimed at streamers; the MSI Immerse GV60. At first I was not immediately enthusiastic when I saw the microphone, as it strongly reminded me of the Blue Yeti. But is it just a clone or does MSI know how to add value in this category?
Packaging
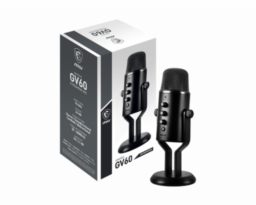
The if we look at the box of the MSI Immerse GV60, it looks quite sober. The box only consists of white, black and grey colors. In my opinion, this is not a wrong choice. MSI clearly shows that it does not only puts focus on a young gaming audience with this product. On the frontside is a large image of the microphone with the model number listed. You will also find an MSI logo on this side. The main specifications are listed on the side. It is striking that both the sample rate and the bit rate are higher than with the major competitor; the Blue Yeti. Instead this is more in line with the more expensive Blue Yeti X.
Inside the box
After the outer box has been pulled off, the inner box can be opened. First you see the manual, which is thicker than your wife’s average romantic pocketbook. The microphone can be found in a thick foam bunker, wrapped in a plastic jacket. The foot is already in place. On the side is a flap containing the USB-C to USB-A cable, an included pop filter and two caps to cover up the screw holes, more about this later.
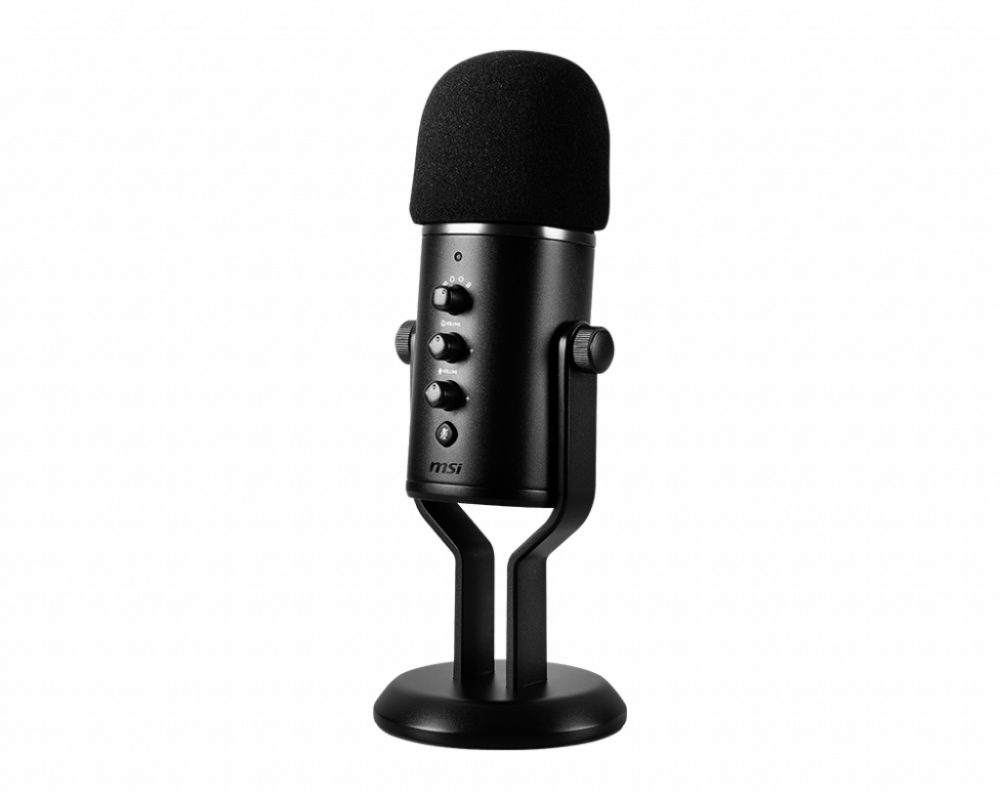
The Immerse GV60 unpacked
The microphone gives a good first impression. It is sturdy, quite heavy even compared to an already hefty Blue Yeti. The design is slightly less rounded, but still very sleek. The MSI Immerse GV60 has a sleek, uniform dark gray finish in matte aluminum. On the front there are 3 buttons of equal size for the various recording modes, headset volume and microphone volume. Below that is a small button that mutes the microphone. The microphone comes on a stand that feels sturdy. The Immerse GV60 can be screwed in on both sides and does not fall down when positioned, for example, at an angle. At the bottom you will find a USB-C connection, a screw connection for a boom arm and a 3.5 inch microphone connection.
Specifications
Noticeable specifications include an USB C port and a higher then average sample- and bit rate.
In practice
I bought the microphone mainly because of its clean look and lack of software. I have experience with a Blue Yeti Nano and a HyperX Quadcast microphone. These are my personal frames of reference.
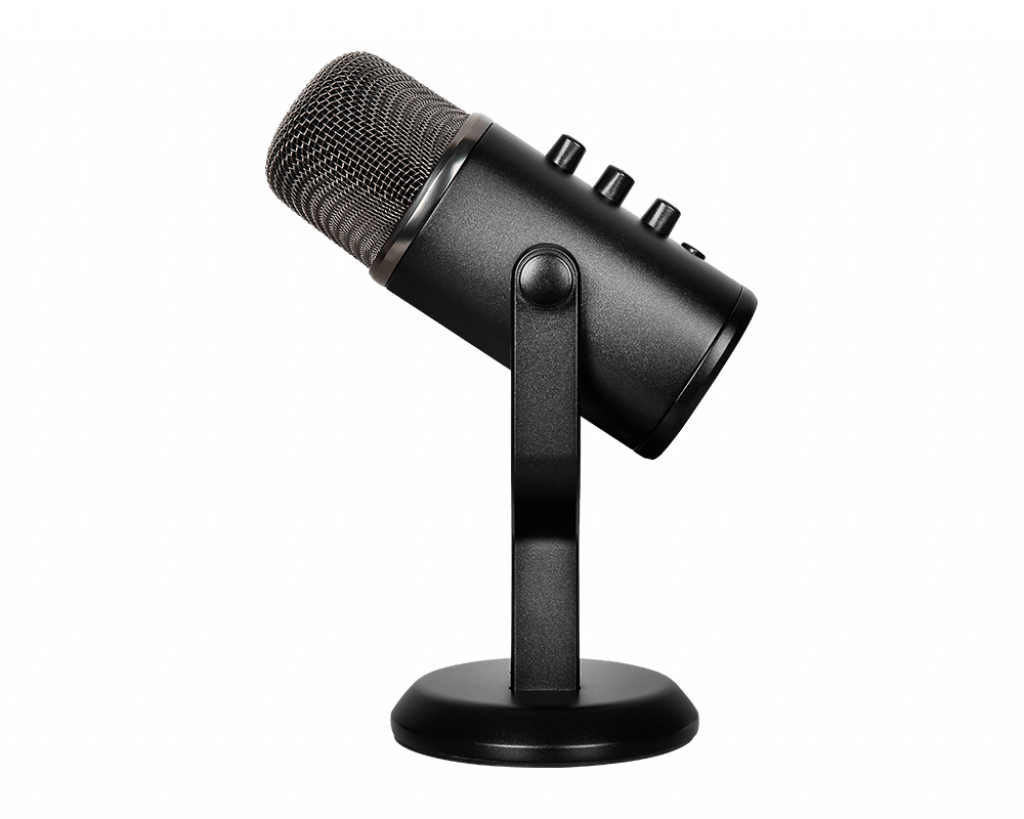
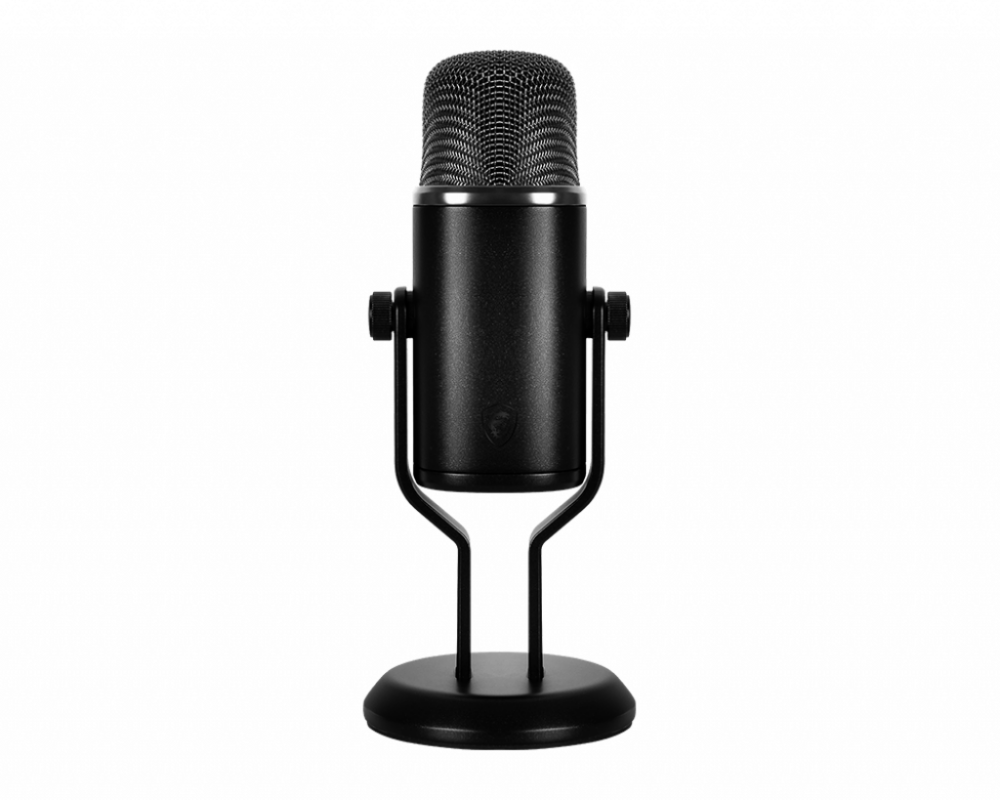
Appearance of the Immerse GV60
The microphone has a matte finish and no eye-catching logos. MSI has subtly put its name on the front in a dark color. On the back if the mic you will find an MSI brand logo. A small light indicates the status of the microphone; green for active, red for mute. As mentioned, the buttons have a uniform look with a white text and logo to indicate the function. In my opinion, the buttons could have had some ridges for just that little bit of extra grip. The MSI Immerse GV60 looks sleek and will not distract during a teams meeting. Speaking of which, check out this article about monitor arms for a cleaner desk.
The MSI Immerse GV60 from all angles
Ease of use
The microphone can be used immediately, no separate software is required. My windows 11 system recognized the microphone immediately after connecting it. In windows itself you can indicate if the MSI should or should not do all the recording work instead of any other microphone present, such as that of a webcam. MSI has not developed any software for the microphone. If you want to use certain filters or adjust other sound effects, you will have to do this with your streaming software. The advantage is that no unnecessary resources are used by software that not everybody will be using.
The stand is easy to remove if you want to place the microphone on a boom arm. the screw holes are then neatly covered with the supplied caps.
Recording quality of the Immerse GV60
I have used the Immerse GV60 from MSI for online gaming, a video call through teams and for communication during a phone call. In all cases, according to the person on the other end, I was very easy to understand. Voices came across true-to-live, with no noise or distortion. I have largely made use of the cardioid setting. If you want to make a podcast interview, the stereo mode is ideal. For people who like to play with ASMR, there is the stereo mode. I notice I find it very convenient to be able to adjust these settings without having to reach to the back of the mic. This was one issue I had with the Yeti Nano I used before.
Conclusion
MSI has released a very nice microphone with the Immerse GV60. The appearance is initially reminiscent of the Blue Yeti. However, to put the MSI away as a simple clone would do the product injustice. For about the same price as the Blue Yeti you get a higher sample and bit rate with the MSI. If you want the same level of recording quality with a Blue Yeti you will need to step up to the Blue Yeti X. I haven’t used that before, but it seems to be a nice mic as well. The appearance is not disturbing when it comes into the picture and the operation is simple. A pop filter is included, although any threaded adapter will have to be purchased separately. All in all, a very solid entry from MSI. For the price I paid, which was around €110,- I can highly recommend this microphone. For more info visit the official product page.
Akko has a wide variety of keycap sets. One of these is the Los Angeles set; a keycap set inspired by the famous basketball team from LA. This is a beautiful set of keycaps. Weather you are a fan of the Lakers or you are just looking for something different then your average black on white set.
Packaging
The outside box
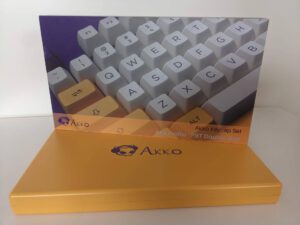
Akko sells the Los Angeles keycaps in a nice box which shows an image of the keycaps in full color. Upfront there is the Akko logo. The profile, which is ASA and the keycap material; PBT can be seen on the right side. Up front is the name of the set which comes in handy if you are like me and have different Akko sets stacked on a shelf. On the back there is some contact info.
The keycap storage box
The storage box for the keycaps comes in a vibrant yellow color with a big Akko logo on it. On the left are hinges and it closes with magnets. This ensures the storage box is secure but still easy enough to open when needed.
The keycaps in their storage box and outer box
The keycaps
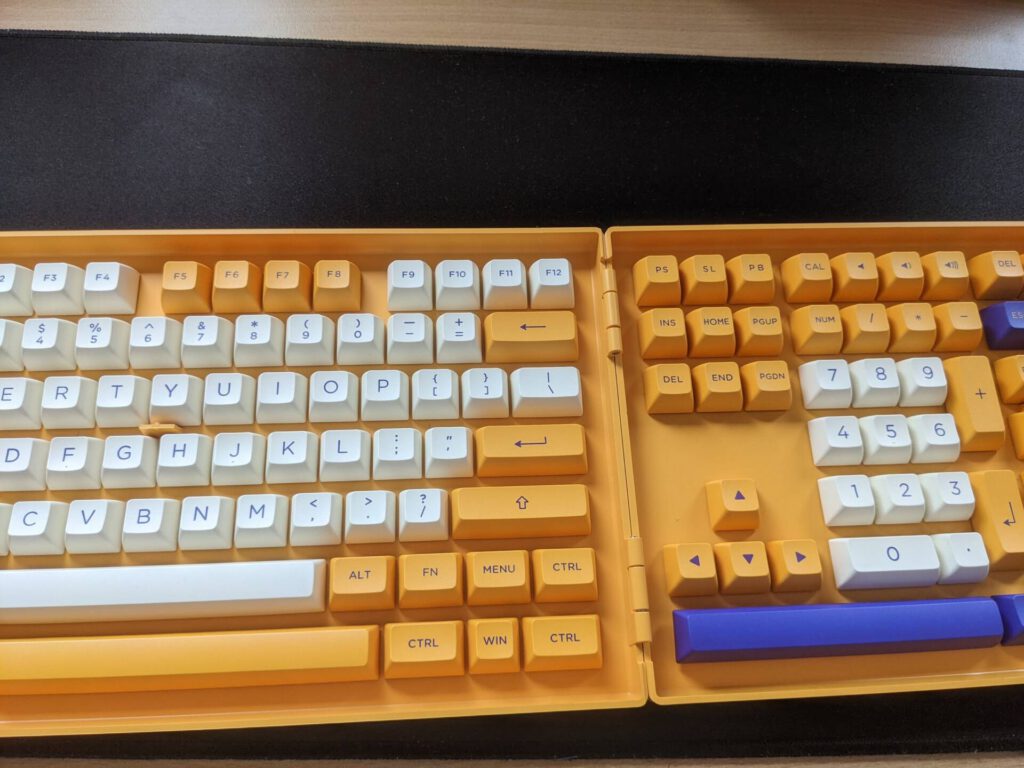
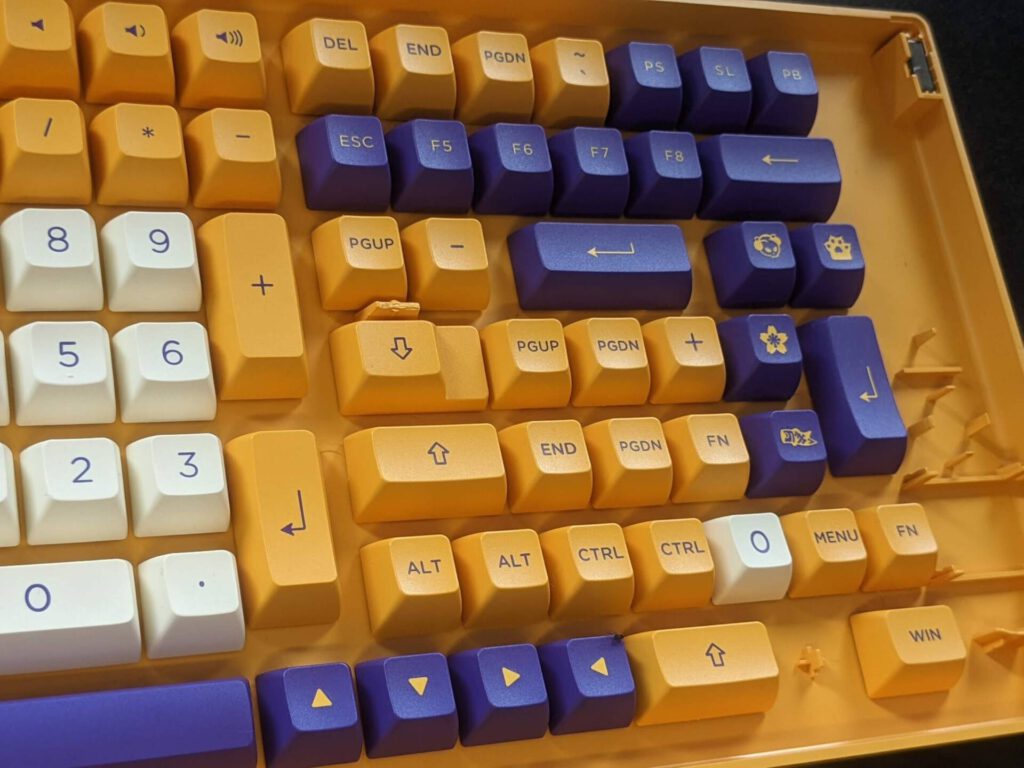
Opening up the storage box you are greeted by a beautiful assortment of keycaps. An assortment of white and yellow keycaps for standard layouts whit a nice purple print on them. Purple variants of keys are included, as well as different sizes for special layouts and a few novelty keys.
If you want to get serious about matching your keycaps with your switches check out the Lavender Purple, Jelly white or limited edition Spongebob switches!
ASA profile
The keycaps are of the ASA profile type. They have a large font, placed in the center of the keys. Being flat and having a large surface area, they are easy to find for your fingers. The ASA profile’s height sits in between the Cherry and OEM profile.
Different layouts
The Los Angeles keycap set comes with a total of 158 keys. Included are keycaps in different sizes for layouts such as 60, 65, 75 and 96 percent.
Storage box
You can store the keycaps you replace with these safe and sound in this box. The keycaps are secured by a cross shaped placeholder for each individual keycap. This can make them a bit harder to take out though. Fortunately Akko also provides a nice keycap puller with the set.
Build
Here’s how the keycaps look in my Akko 3098B keyboard. (review here). I think they look really nice with the black. I bet they will look even better on a white keyboard though! I ‘m curious what you think. Let me know in the comments!
You can check at Akkogear.de for international shipping here If you want to get 10% off on any purchase on Akkogear.de just use coupon CLICKSMASHSTUFF or use this link.
I have been using the Jelly Purple switches for a while now on a daily basis. The Jelly Purples rekindled my love for tactile switches. I like my switches to have a little weight or feedback to them. Well fortunately for me the great people at Akko reached out. They gave me the opportunity to review the Jelly Black switches. According to Akko these are their most populair switch at the moment. So lets see if I can stand behind this product, shall we?
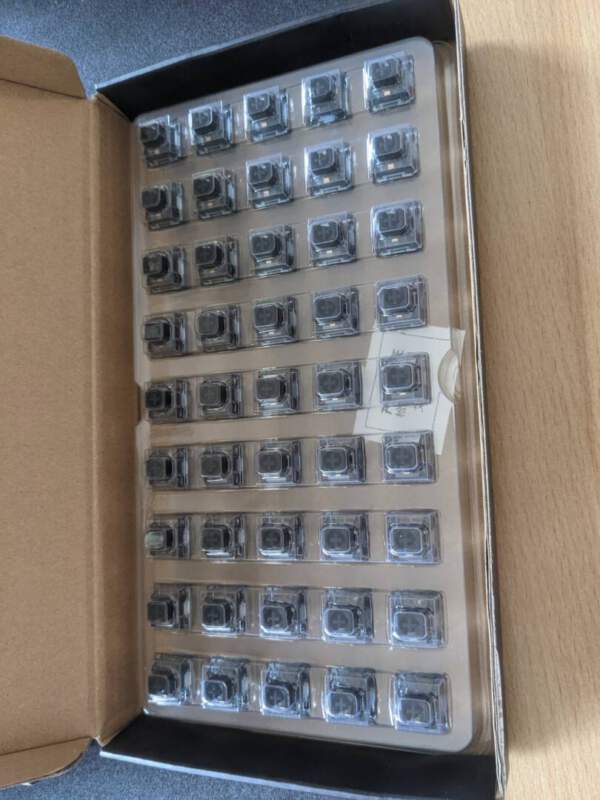
Unboxing the Jelly Black
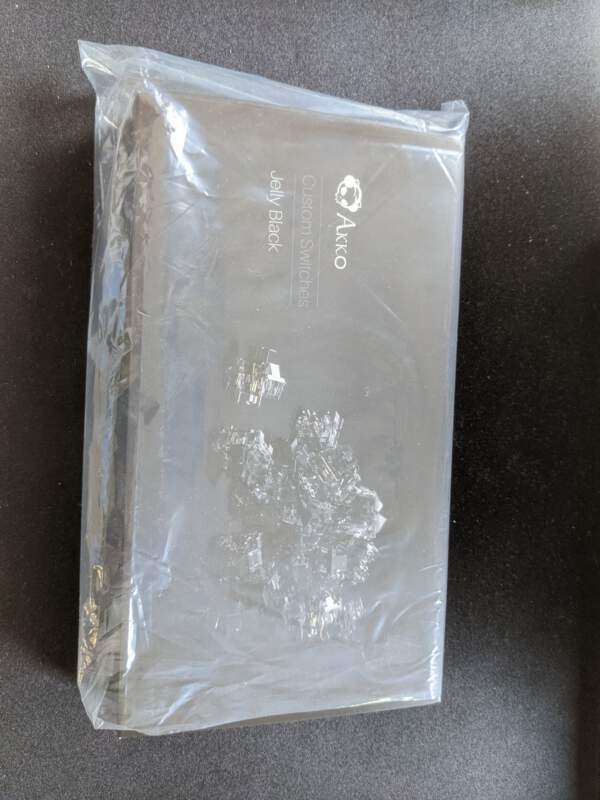
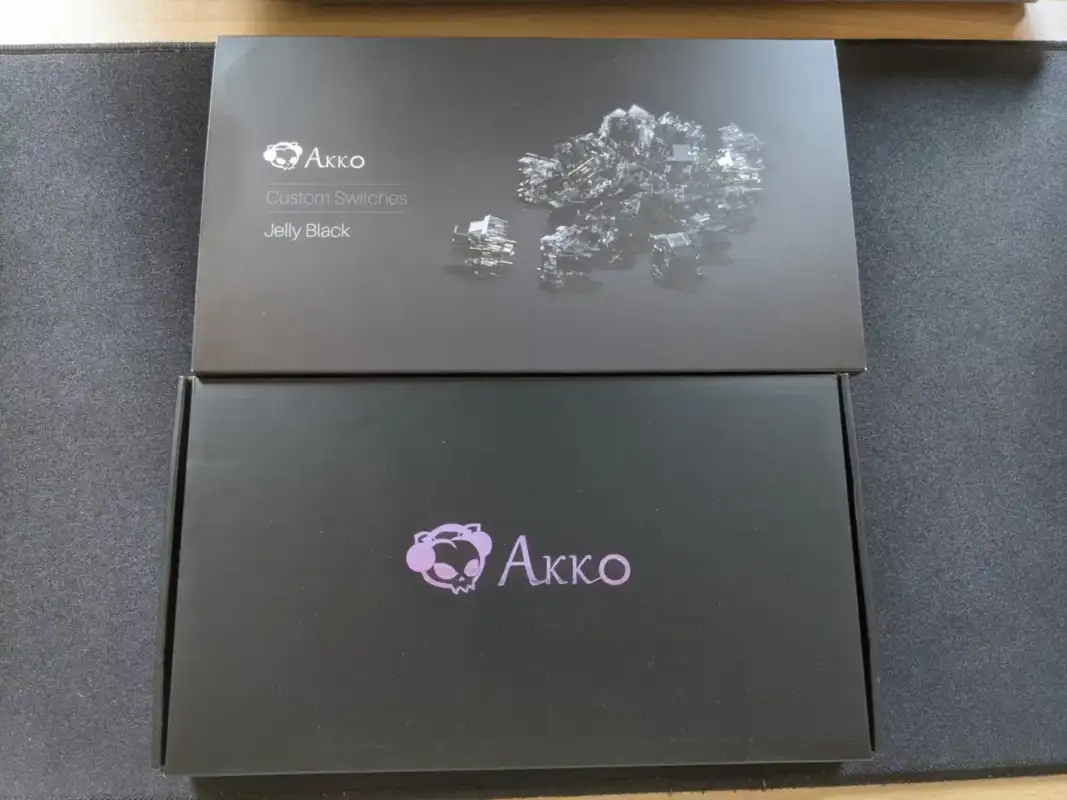
Well, if you’ve read my review about the Jelly Purple switches you know where this is going. Akko’s Jelly Black switches come in a nice little box. The theme is consistent with their keycaps and keyboards. Inside this box are the switches in a nice plastic case. They are not just thrown in a bag like many brands do. Instead they are individually hiding in their own little foxholes. This helps reducing the risk of getting bend pins. Once again all switches came in perfect shape. Kudos to Akko!
The packagingThe wrapper and the box itselfThe keycaps individually protected
Up close and personal
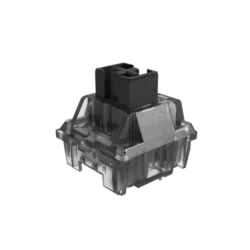
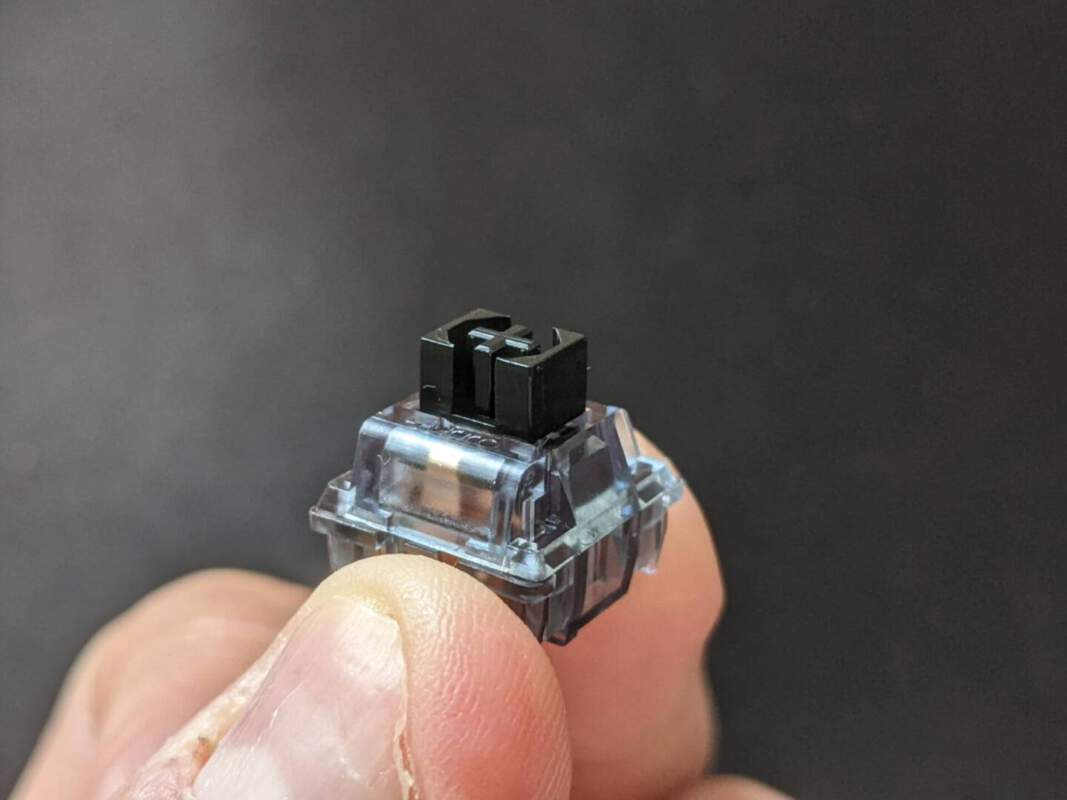
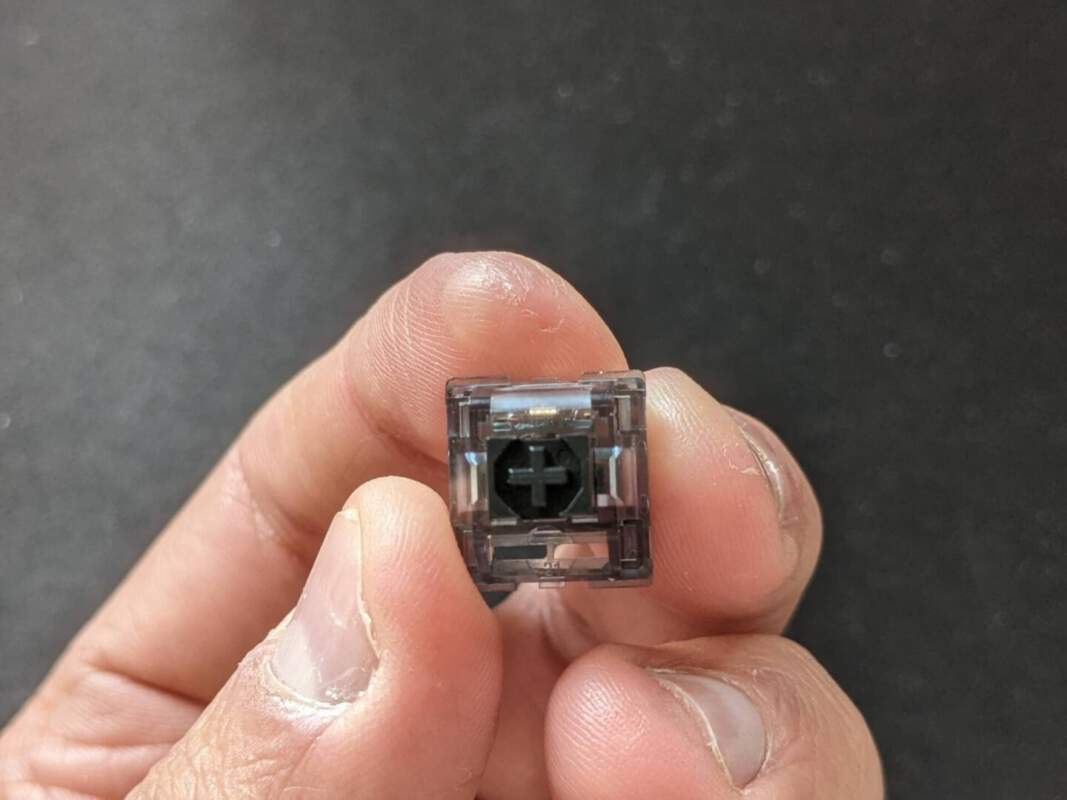
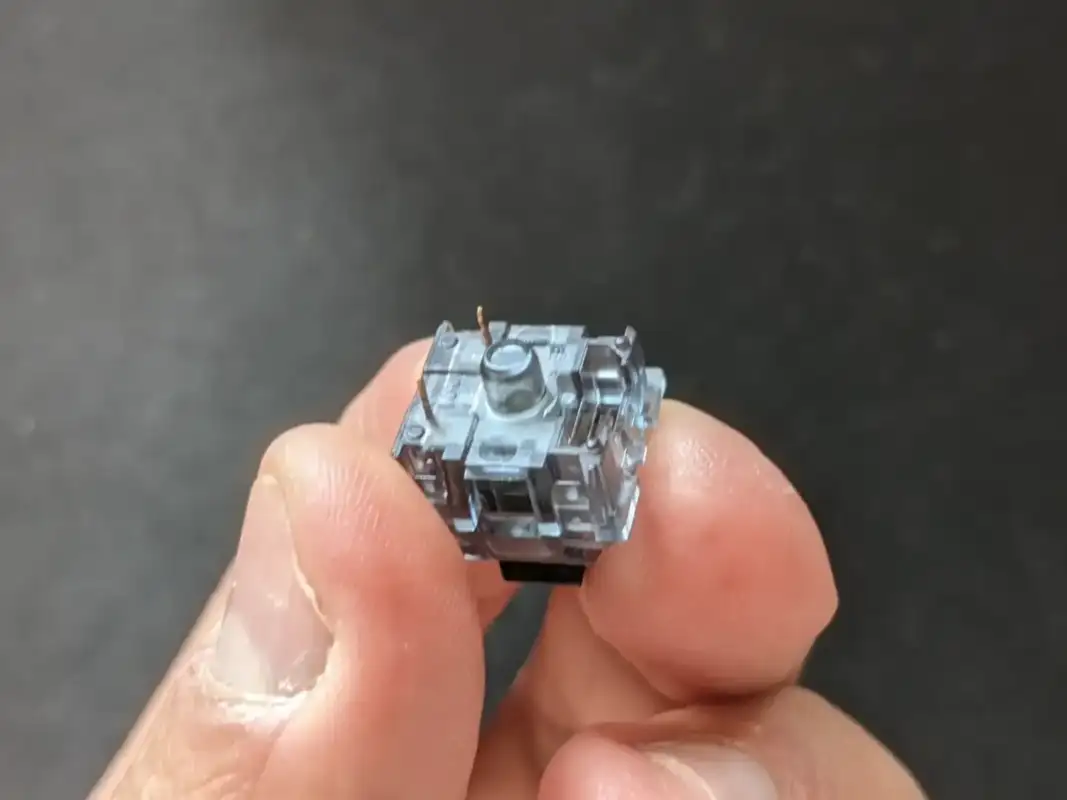
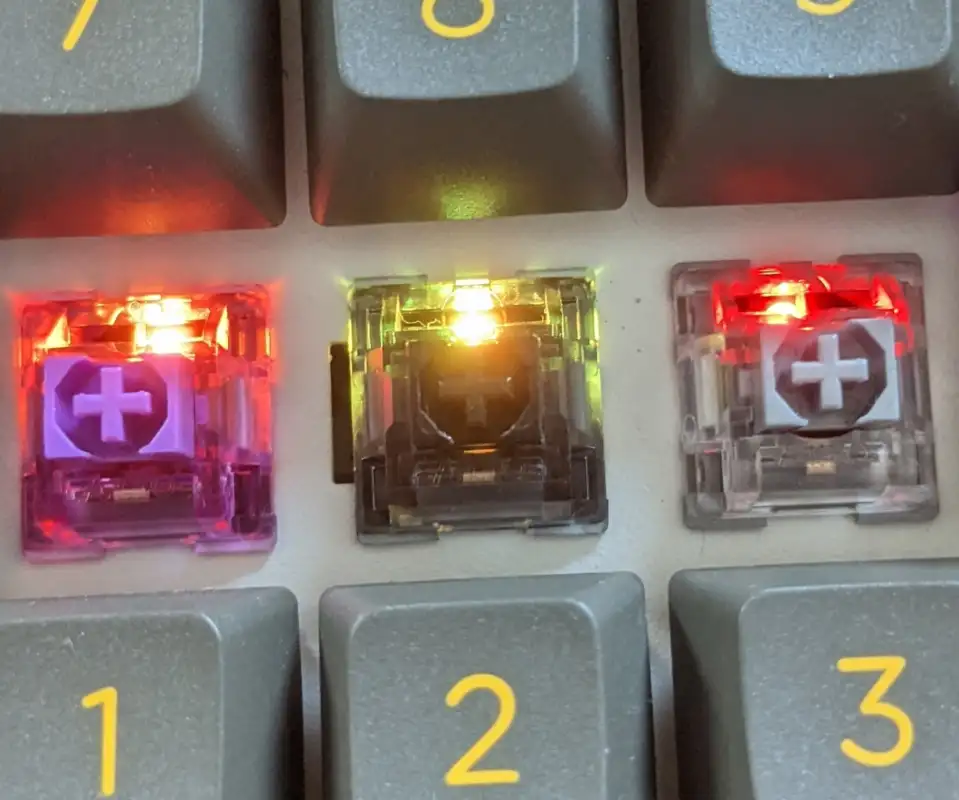
The Jelly Black switches are nice to look at. In the hand they feel solid and there is no obvious ping when pressing them. First impression is that of a smooth transition while being pressed, but definitely with a bit of weight behind them. They have a black stem with a dust cover which also helps against wobble. The translucent housing is made of poly-carbonate material. It has a bit of a smokey color to it, which makes it really classy to look at. The official name of the switches is CS Jelly Black; CS stands for Custom Switches. These are switches made after getting feedback from Akko’s customers.
Side viewUpsideDownside
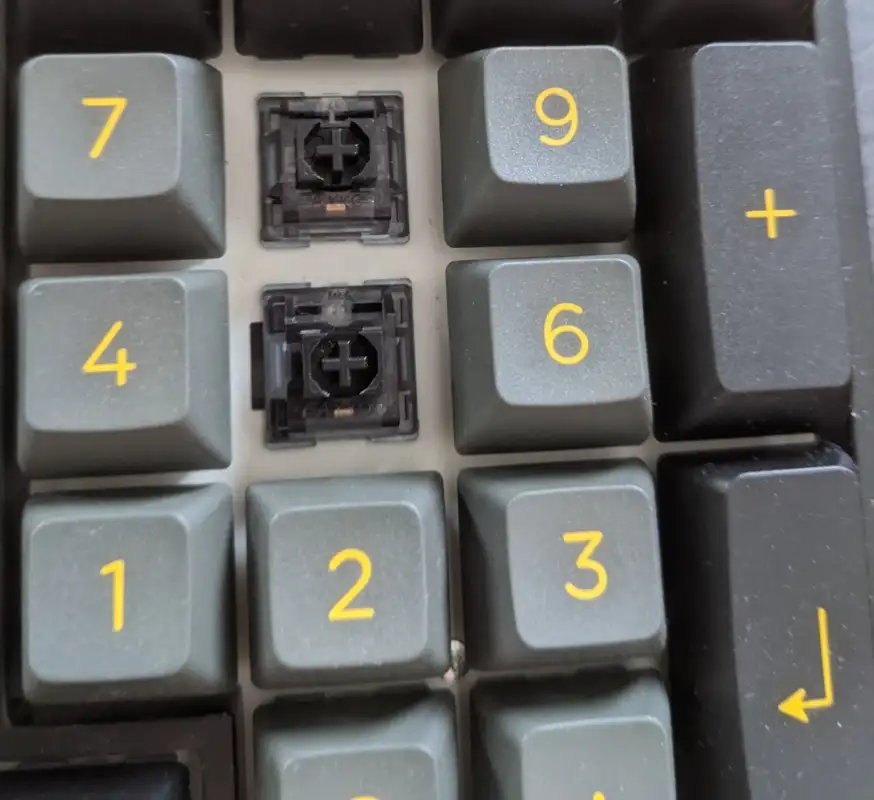
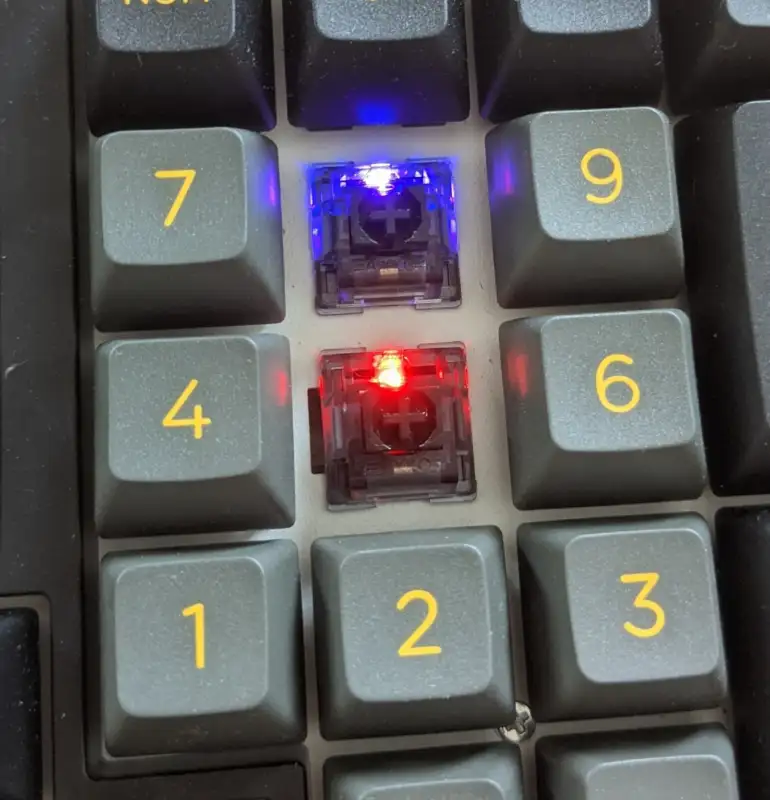
RGB makes things go brrr
For you RGB lovers out there, here is how they look compared to the Silvers and Purples.
Jelly Black switches in 3098BJelly black with lightsJelly Purple, Jelly Black and CS Silver
As can be seen in the column above, the Jelly Black’s are a heavy switch; in fact these are Akko’s heaviest switches at the moment. For me this was an interesting test as previously I have had experience with a linear switch on the other side of the spectrum; the CS Silver switches. The Silver switches are extremely easy to activate. The biggest difference here is the pre-travel which is 1.0 compared to the 1.9 of the Black. Be sure to check out all the Akko switches here!
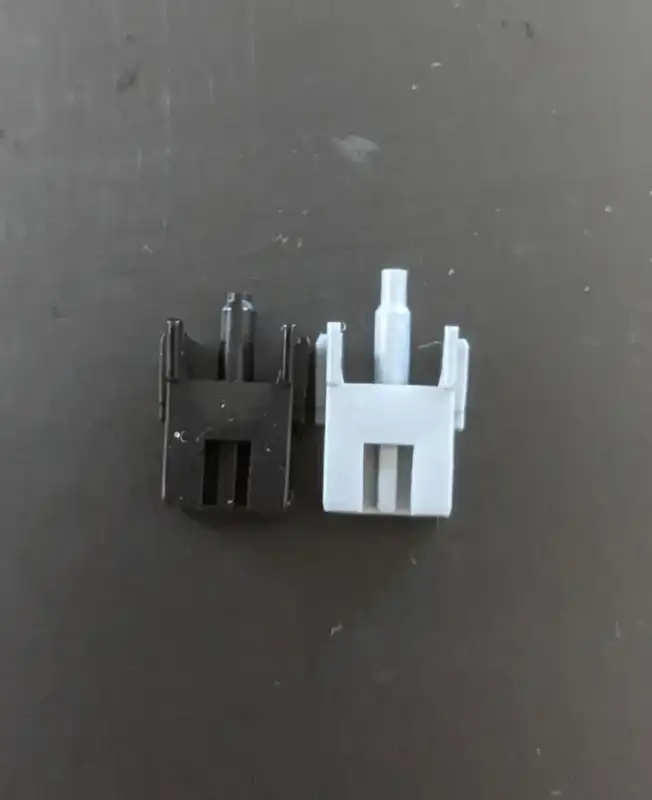
Jelly Black and CS silver side to side
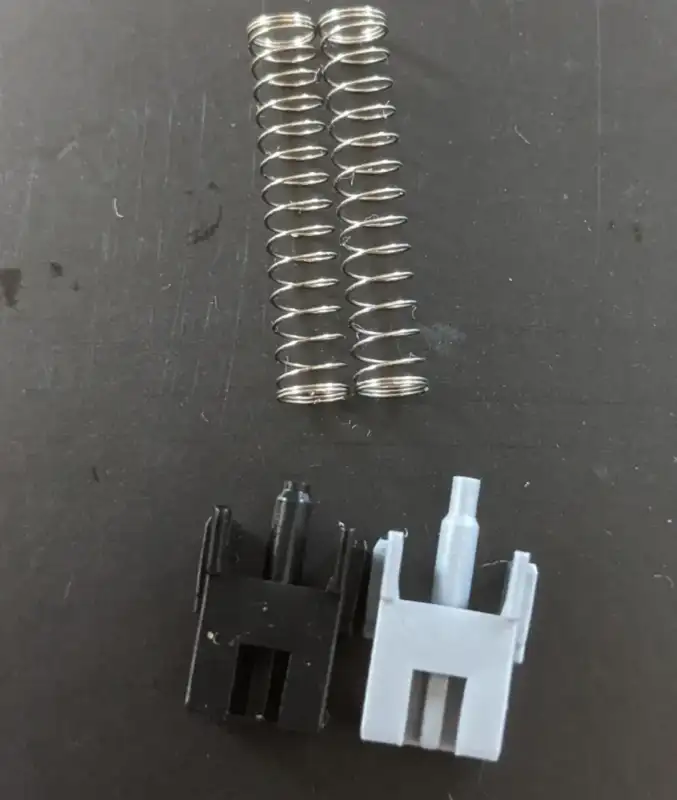
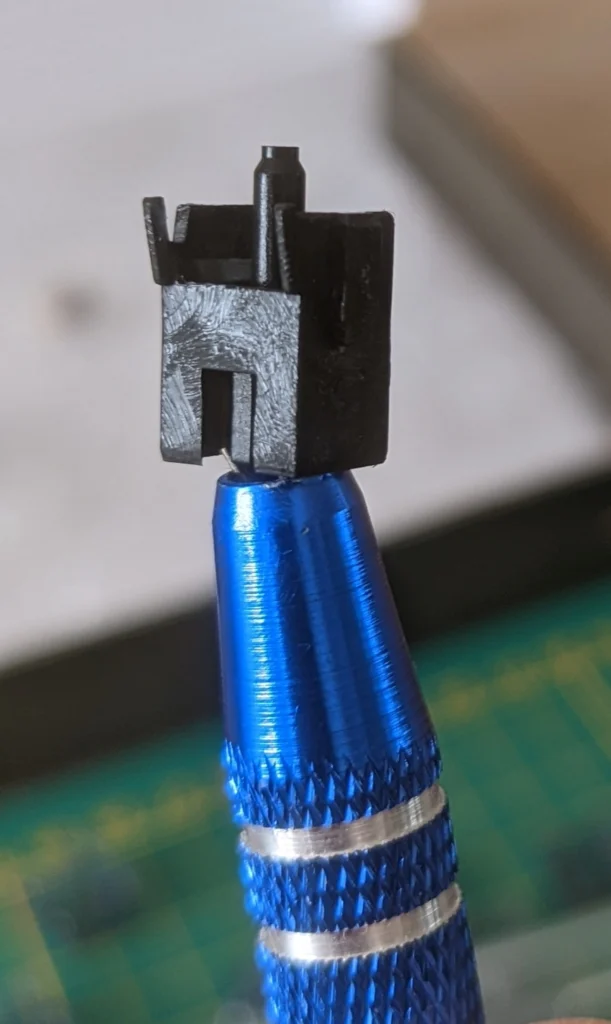
Opening both switches with my tool and comparing them side to side, there are some obvious differences. The bottom is made of a grey nylon on the Silvers while the Jelly Black has a pc bottom. Another difference you can see is the pole on the stem which is longer on the Silver switches. Both springs seem to be the same.
My Dutch readers can buy a set with a switch opener along with all the other basic tools here. If you are an international reader check out a great switch opener from Epomaker here.
Jelly Black and a Silver switch opened upThe stem of the Silver has a longer poleThe springs are the same
Lubing the Jelly Black switches
The Jelly Black switches didn’t seem to have much crunch or ping to me. I must admit I am not the most sensitive person out there when it comes to hearing spring ping though. The blacks are a nice feeling switch and I would argue that it is not a must to lube these. Having said that, a little bit of lube never hurts. So I lubed the switches with the well known Krytox G205g0. Lubing made the switches even more smooth, so if you have the time, sure lube them!
The stem of the Jelly Black switch lubed up
Check out my guide if you want know how to lube switches here. Or if you are looking for a nice complete lube kit, check this one out.
Conclusion
So, do I like them? The short answer would be; Yes, I like them, a lot. For me they are not my full keyboard switch though. Let me explain myself a bit here.
I have been using the Black switches for about a week now. Compared to the silver switches I think these are nicer to type on. I tend to make less mistakes because I can actually feel the key that I am pressing. They also sound more “Thocky” then the Silvers do if that is what you are after.
So far I have used four pairs of linear switches; Cherry Red, Gateron Yellow, Akko Silver and Akko Black. Of these switches I find the Blacks the most interesting. If I had to choose a switch between these four for a full layout, I would go with the Gateron Yellow though. The reason behind this, is that I experience some fatigue whilst typing on the blacks after a while but your mileage may vary.
For people who don’t really like tactile switches but do want to feel a bit of force while using their board these can the perfect solution.
Keep in mind though that the extra force needed can be a bit of a downside for those having to type for long sessions or playing fast FPS games.
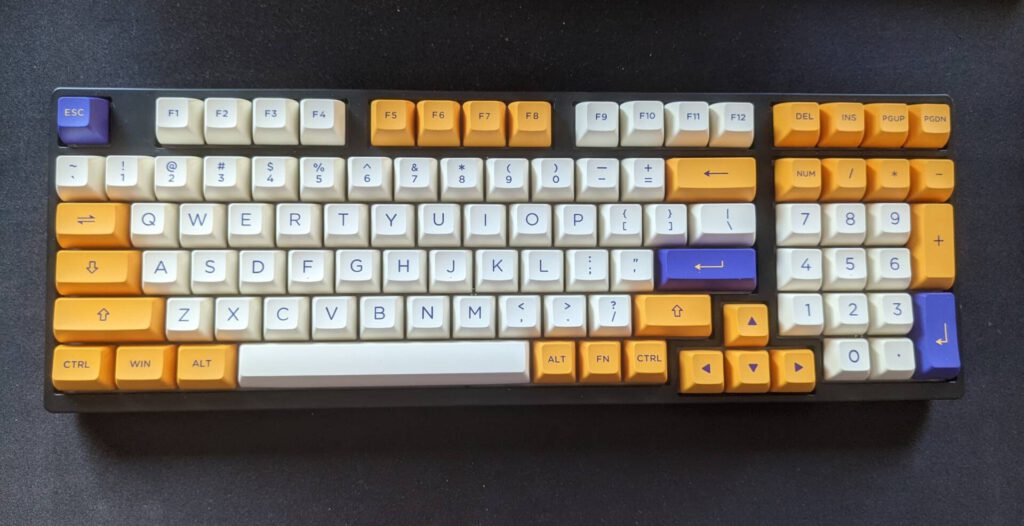
My current daily is an Akko 3098B (review here) with the Akko Jelly Purple and for the numpad and F-row I use the Akko Jelly Blacks. These are perfect for me when crunching numbers for example.
Coupon
If you want to get 10% off on any purchase on Akkogear.eu just use coupon HELLOAKKO or use this link.
Disclaimer
This product was send to me by the Akko. Opinions are my own. This review may contain referral links. By using these links you support this website and allow us to get products in for review and testing.